How to Paint a Car – Step By Step Complete Guide
Painting a car is not less than any artistic work. And in fact, it requires some professional skills. But what if you want to paint your loveable car yourself.
It is a big question that peeps in every car owner’s mind, no doubt. And the answer is yes, you can paint your car yourself.
If you know the right process of painting a car, you can dare to do it. And for you, we have prepared a step by step of guide on how to paint a car with spray cans to make it easier for you to catch. Here are the steps below.
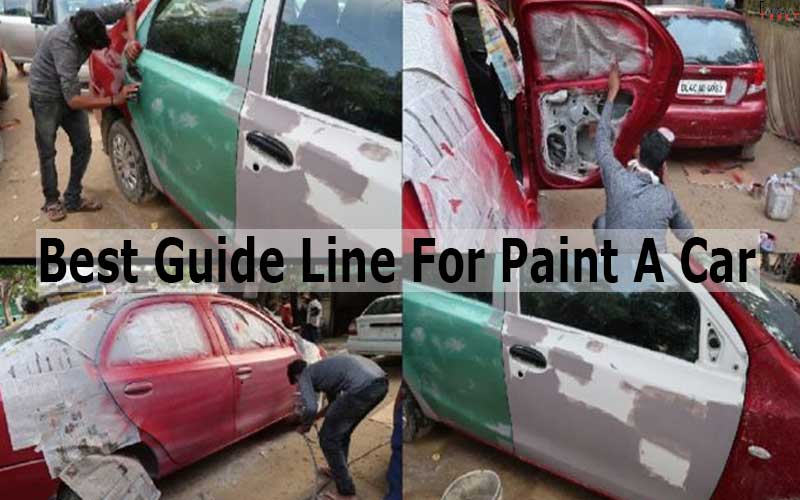
Best Guide Line For – How to Paint a Car
Step By Step Guide Line To Paint A Car
Step 1: Readying up the Top Surface of the Car
Task 1: Sanding the Car
For sanding the car,you will need sandpaper of 600-grit. Start by rubbing down the metallic surface of your car with the sandpaper. You have to rub over the entire surface back and forth with the sandpaper. After rubbing for a while the paint will slowly start to flake away from the surface.
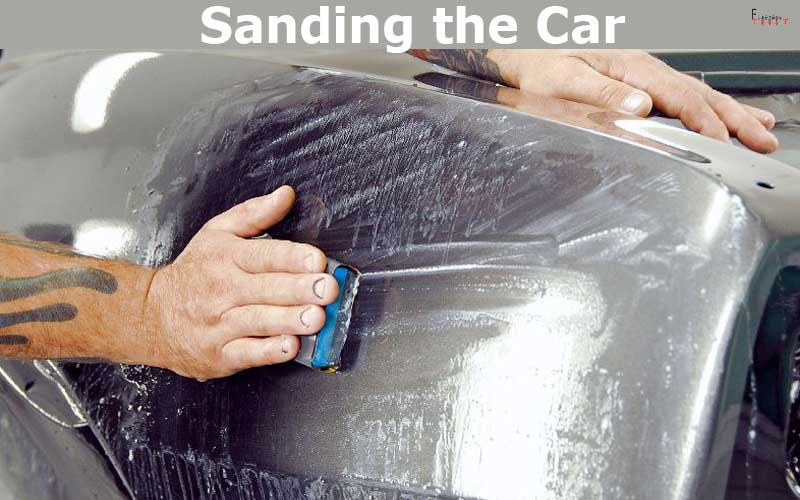
Sanding the Car
You have to switch to sandpaper of 1500-grit from 600-grit when most of the paint is rubbed away. This is why I recommend you to keep both types of sandpaper from the beginning.
You have to make sure that there is no rust left on the car. Also, remember that this is a lengthy process but you have to keep patience if you want to give your paint job a more premium look.
Task 2: Repairing the Holes
Holes are formed when you remove rust from the surface. You can use putty to repair holes that are in the metal of the car’s surface. This putty is designed especially for car metals. You can easily find it on any hardware store or online.
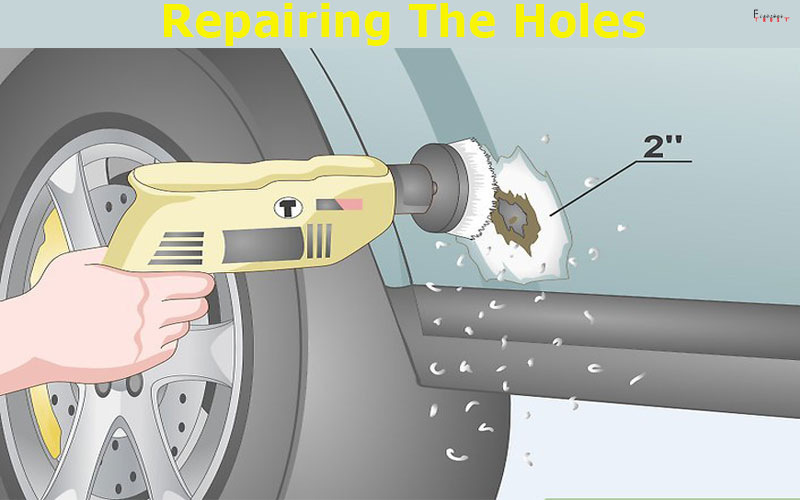
Repairing The Holes
To fill up the hole, directly squeeze the putty into the hole. Then clear up the surface by removing the excess putty. To remove it you can use a putty knife with a flat-edge. Wait for about an hour for the putty to dry and then rub it with sandpaper of 1200-grit to make it smooth.
Task 3: Cleaning the Surface
You can use an old but dry cloth to clean the surface after sanding and applying putty. Use cellulose thinner to wipe off stubborn wax or dirt. Cellulose thinner helps in dissolving the wax on the dirt. As the thinner is quite potent, you will need a very small amount. Apply it with the help of a dry cloth.
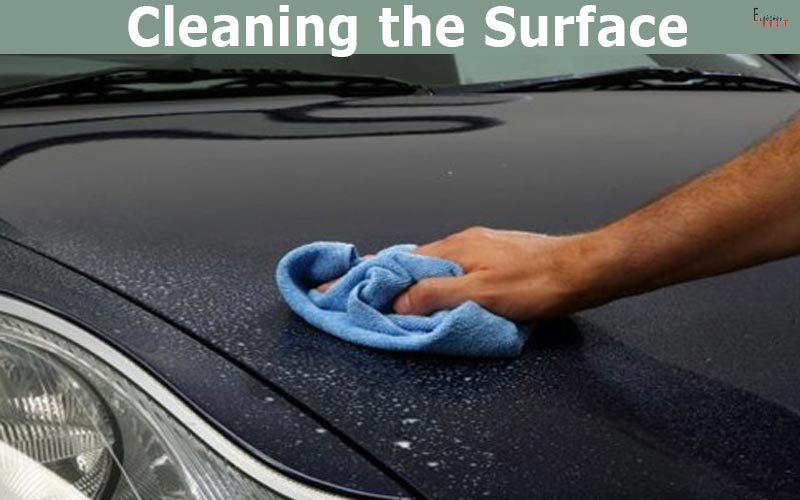
Cleaning the Surface
There are some heads up for you if you want to use cellulose thinner. Firstly, you can find it easily in a hardware store. Secondly, always remember to use this in a ventilated place because its fumes are quite toxic. You should wear a mask as well while applying it.
Task 4: Covering Unwanted Paintable Area
Of course, you don’t want your car windows or door handles to be painted. So, you have to take some pieces of painter’s tape to cover any surfaces that are exposed but you want it unpainted.
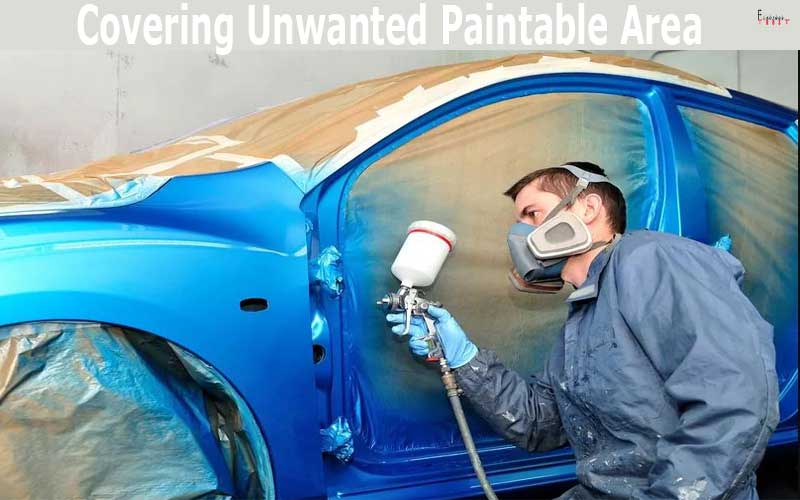
Covering Unwanted Paintable Area
Painter’s tape is good for covering small areas like the handle of your car. But for covering a large area (for example the window), you can tape papers over that area so that it is protected from the paint.
Always remember to cover every part which is not metal. Car bumpers, side mirrors, wheel rims, window frames are some of the parts that you must cover. To keep the ground from getting painted, lay some papers on the ground as well.
Step 2: Priming the Car
Task 1: Choosing the Right Place
As you are working with an aerosol spray can so keep in mind that it works best in a dry, warm, and sheltered condition. So, you should work in a well sheltered and ventilated garage, if the outside environment is cold.

Choosing The Perfect Place For Paint
Humidity slows down the paint from drying. So avoid it as much as possible. Keep your car in a distance from other objects that you don’t want to get painted. Also, always use mask and safety goggles while painting so that paint fumes cannot harm you.
Task 2: Applying Coats of Primer
Now you have to apply at least 3 coats of primer on the car. Start by spraying the primer from at least 9 inches away. Apply the primer only on the surface that you want to paint.
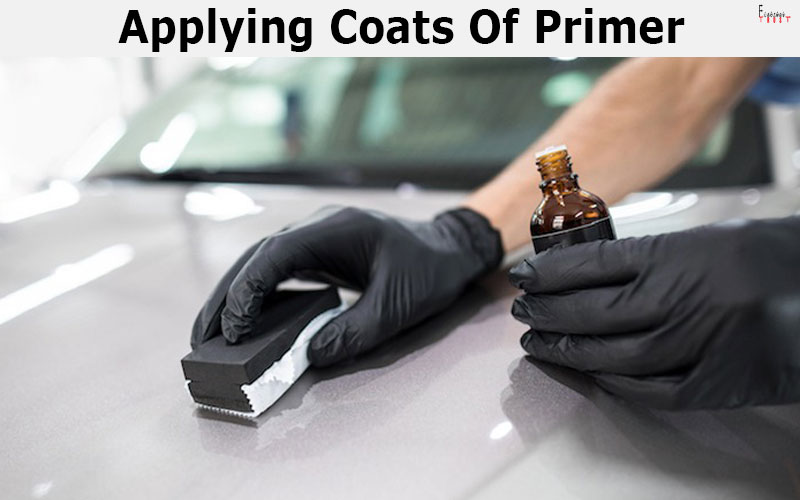
Applying Coats Of Primer
Use an even back and forth stroke for this. You should move the can at a consistent pace to have an even coating. After applying the coating for the first time wait at least 15 minutes before applying the second coating.
Then again wait for 15 minutes to apply the third coating. Note that it is better to provide a lot of thin layers of coating instead of a few thick layers. Otherwise, the paint may start dripping soon. After applying all the primer coatings allow it to dry for a day.
Task 3: Sanding for Smoothing
After waiting 24 hours for the primer to dry, use 1200-grit sandpaper to make the coating smooth. Make the sandpaper wet and then start rubbing it back and forth to make the primer coating even and smooth. For a large area, you will need multiple sandpapers to have a smooth finish.
Task 4: Cleaning the Area
This is the final task in step two. Now you have to clean the coated surface with soap and warm water. Use an old cloth. Finally, to remove the suds of soap, rinse the car. Then use a towel to dry the surface and you’re done.
Step 3: Spraying the Car
Task 1: Shaking the Paint Can Well
When the paint-can is not being used, the pigment separates slowly. So, you have to shake the paint can vigorously to re-mix the pigment with the liquid.
Shake the can at least for 3 minutes if it is not used for a while. But if you have used it in the last 12 hours only one minute of shaking will be enough.
Task 2: Testing the Paint
After shaking completely, you have to test the paint on a spare cardboard piece. Start spraying from at least 9 inches of distance and then check the paint.
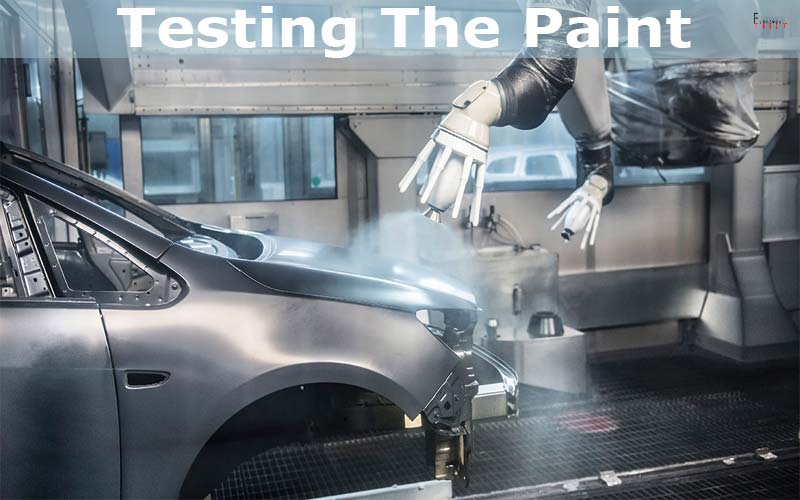
Testing The Paint
If you find the paint to be patchy, shake the can again till the patchiness is gone. This test will help you to get control over how much pressure you will provide on the lid for painting.
Task 3: Spraying the Paint
Now comes the main task of this step. You have to first hold the can parallel to the car’s surface where you want to paint. Always make sure there is at least 9 inches of a gap from the surface to the paint-can. As you move your arm across the surface, make sure you are keeping the can parallel.
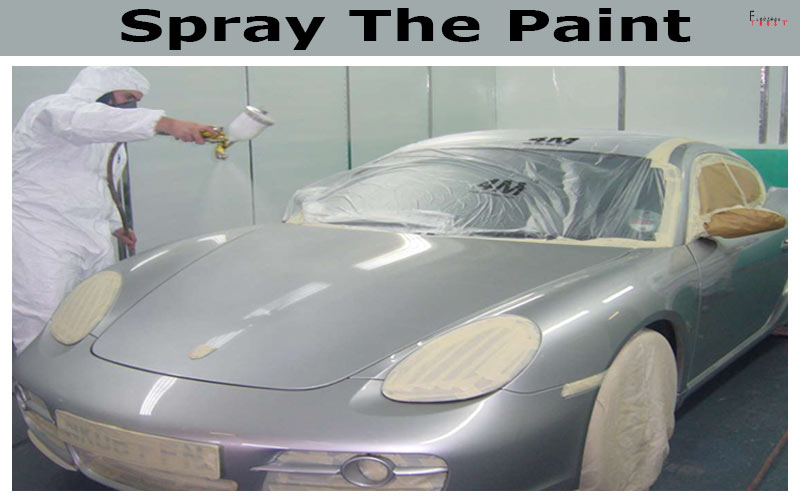
Spray The Paint
Now continue to spray as long as you don’t get an even light coating of paint. Note that, you should always move the can at a constant speed so that you can get an even coating.
Task 4: Applying Multiple Layers
Only one layer of paint won’t be enough to give an even surface over the car’s body. You have to apply at least another layer of paint over the first layer. Wait ten minutes before applying the next layer.
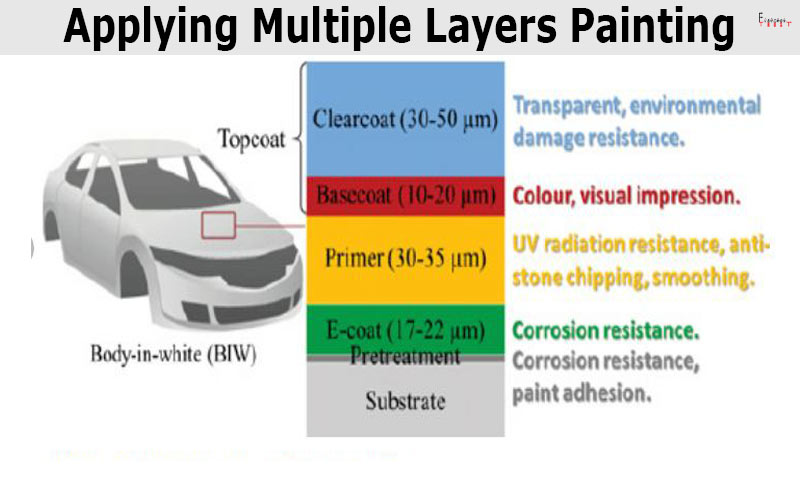
Applying Multiple Layers Painting
When you apply the next layer, you will notice that the previous layer will still be sticky. Don’t worry about that, as the sticky layer will help the next layer to mix and blend perfectly. If you see the surface still looking patchy, you can apply another coat of paint.
Task 5: Spraying Clear Paints
Now it’s time for you to spray the clear paints. It is the same as applying the regular paint. Just wait for half an hour after applying the layers of regular paint, before you apply the clear paint. The clear paint will protect the regular paint from the ultra-violate ray.
So, these were all the steps on How to spray paint a car with aerosol. Now let me give you tips on spray painting.
Tips on Spray Painting a Car
Here are a few aerosol spray painting tips for you below:
- To have an even coat of paint, spray a small surface at a time.
- If you are not satisfied with the paint, then you can always repaint. But in this case, you should let the previous painting dry completely before starting to repaint.
- Always keep the nozzles of the paint can clean.
- Use triggers (quite inexpensive) to push the nozzle instead of your bare fingers to have a better quality of paint.
Conclusion
Hopefully, you have learned everything on how to paint a car. My final tips for you would be to always use the paint in a place where there is proper ventilation. You don’t want the toxic substances of the paint to gather around you. If you feel unwell or dizzy while painting, take a break and get some fresh airand then start working again.