It might feel like endless work and even extremely exhausting sometimes.
We are talking about keeping your car shiny and glossy on the outside. No matter how much washing, polishing, and waxing are done, it’s only natural for cars to lose their sheen over time.
Things like dirt, stain, debris, UV radiation, bird droppings find their way to the car exterior, and the precious coat starts to decay and fade.
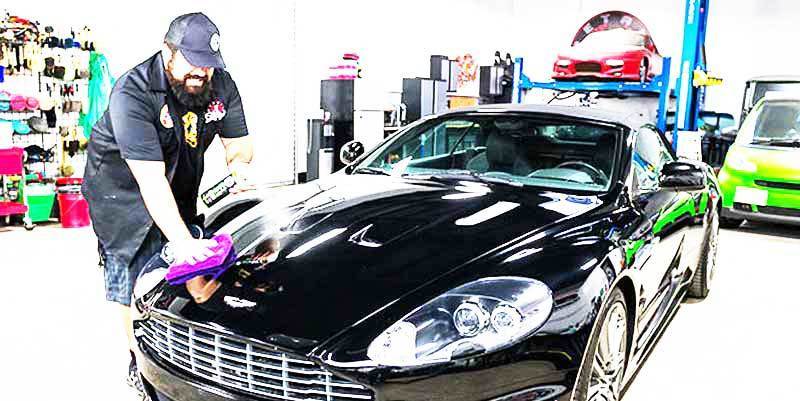
While you can’t stop the process completely, one thing you can do is slow it down to a degree that your car will remain like new for a long time.
That’s where ceramic coating comes in. If you know how to apply ceramic coating properly, you’ll find them lasting longer than wax.
And since they don’t break down or wash away easily, they provide greater protection for the paint than regular car wax or sealants.
How To Apply Ceramic Coating On Your Car

We won’t blabber and bore you with all the details about why ceramic coating is better. Since you’re in this article, we assume you already know that. So let us jump right into the topic.
You see, applying ceramic car coating isn’t hard if you are familiar with the right tools and a little bit of detailing knowledge. The process resembles with waxing and polishing. Since the coating forms bonding with car surface, the first thing you need to do is prepping the surface properly.
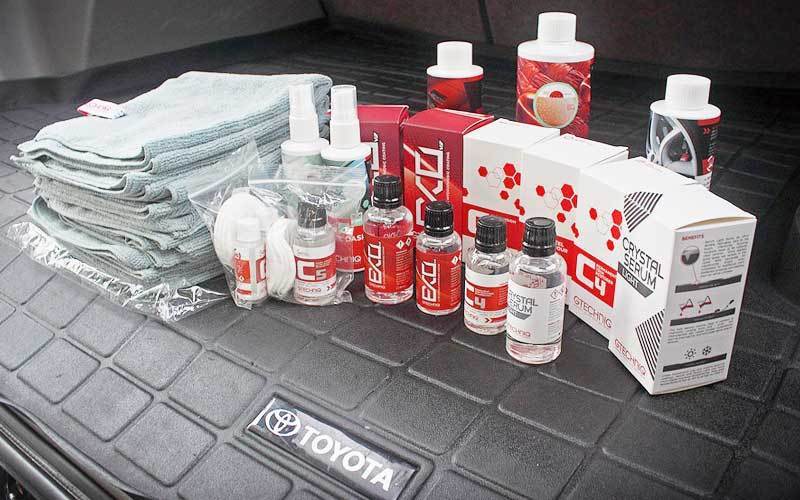
Step 1: Prepare Before Ceramic Coating
- Rinse The Car: The ceramic coating works at a Nano-molecular level. It forms bonding with the substrate, providing a semi-permanent or permanent coating. So it’s only reasonable that the surface you’re going to apply the coating needs to be free from any contaminants. The contaminants that usually mess with the car paint are dirt, airborne pollution, rail dust, bird droppings, and over-sprayed paints. You need to wash them down. You can use a hose to thoroughly rinse the car.
- Apply Foam: You can apply the foam on the exterior. It will provide better cleaning. Use a foam cannon. Start from the bottom of the car and slowly move towards the top. Now take the hose and rinse the car body again.
- Use Cleaning Solution: Now, the next stage of washing begins. We can call it the “two buckets” method. Take cleaning solution in one bucket and clean water on the other. Dip your cleaning towel on the solution and start applying from the top. The clean water bucket is to rinse the cleaning towel. Every time you dip the towel on the solution, make sure you rinse it with clean water. That’s to make sure no contaminants can transfer from your car body to the solution and vice versa. Make sure you rinse the car again with a hose and don’t allow the soap time to settle in.
- Chemical Decontamination: There’s no point in applying ceramic coatings if they have to work with chemical contaminants. To make sure that doesn’t happen, you need an iron fillings remover and tar remover. Both of them come as sprays. You can just spray them on the car body and wait for some time. They usually change their color while decontaminating the paint, so you need to sit back. Let them work and rinse them afterward.
- Physical Decontamination: We’re talking about excess paint, residue, scratches that might remain on the car. You need a clay bar and clay lubricants for this stage. Apply the lubricant to your car body and then gently rub the clay bar. Make sure you’re rubbing both vertically and horizontally.
- Final Polish: The ceramic coating stays at least 2 years on your car. So you need to make sure the car surface is well polished and smoothened. You don’t want any excess paint sticking to your car for 2 years, do you? As the final step, spray Isopropyl Alcohol or IPA on your car. It will make sure no residue from polishing remains on your car. Also, it will finally prep the surface to form bonding with ceramic coating. Wipe the surface clean with a microfiber towel after spraying the solution.
A Common Question: Before jumping onto the next point, we want to clarify one thing. Do you need to wax before ceramic coating?
We would say you don’t need to do that. That’s because applying wax will form an additional coat on top of the surface. And since the ceramic coating needs to be bonded with the surface and not wax layers, it’s unnecessary.
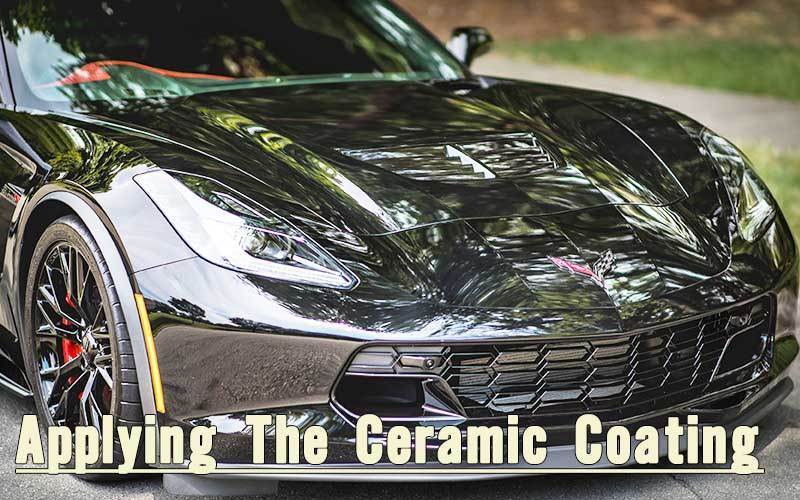
Step 2: Applying The Ceramic Coating
- Choose An Area: For this stage, you’ll need a ceramic coating solution, a coated sponge, a silica spray and a microfiber towel. You need to take cover an area at a time. First, choose a surface area you’re going to work on. We suggest you choose 60 cm X 60 cm area for starters. Take 7-10 drops of the ceramic coating solution on your coated sponge.
- Application Process: Let the sponge soak the solution. Smear the coating solution on the selected area vertically and horizontally. Make sure you do not miss any spot. Do not use excessive dosage thinking it’ll work better. That can result in uneven smearing of the solution.
- Wait For Some Time: Now it’s time to wait. Let the product do its work and allow it some time. It can be 1-5 minutes depending on the product. It’s better to follow the manufacturer’s guidelines for the waiting time.
- Don’t Wait Too Long Though: After the waiting period passes, use a microfiber towel to wipe and polish the coating. This will allow the coating to form a highly glossy finish. Here’s one thing. Don’t wait too long after applying the ceramic coating solution. That’ll allow the solution to settle in unevenly. Wipe it while you still feel a little resistance. If the temperature is high, say 32-degree Celsius or more, sure a damp microfiber towel first to wipe and smoothen the solution. Use the dry towel afterward. However, if you accidentally wait too much and the coating dries, don’t panic. Use a machine polisher and a course cutting polish to smoothen the surface.
- Apply The Silica Spray: The silica spray usually comes with the package when you buy a ceramic coating product. It adds more glossiness to your car and develops water resistance so that your car doesn’t get any water spot. Use the silica spray one hour after you used the ceramic coating solution. The application process is, spray some silica on a microfiber towel and wipe the car surface with that towel. Finally, let the car stay indoors or in your garage for a day. This will allow the coating to settle in and also, stay away from dirt and contaminations.
Step 3: The Curing Process
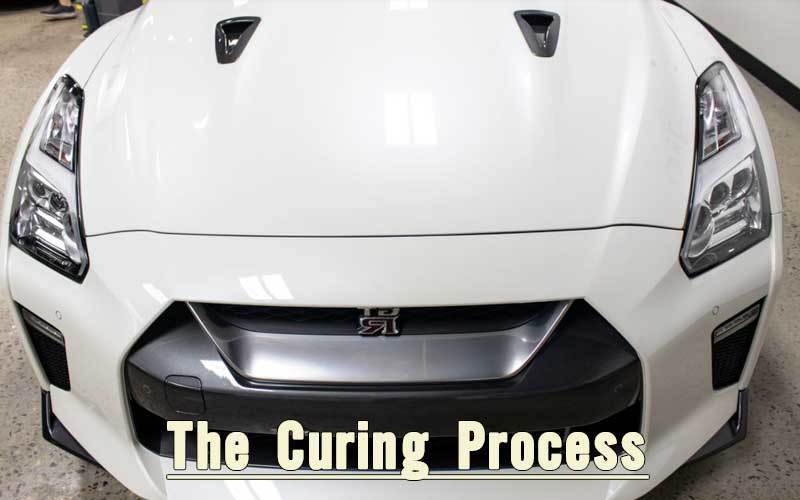
- Allot Some Time: Yes, a follow-up after applying the coating is necessary. Remember, if done right, the coating will serve you for 2 years minimum. So, give the coating 2-3 weeks to cure. The time depends on the temperature, humidity, and season.
- Watch The Coating Closely: Keep a close eye on your newly applied ceramic veneer. Make sure the surface is free from contaminants like residue, dirt, tree sap, bird droppings, and water, anything that’s visible. Make sure to remove them as soon as you notice.
- Avoid Doing These Things: There are some tasks you need to avoid during the curing period. Remember, applying the ceramic coating is a time-consuming and costly matter. But it all pays up if you do it correctly. Take a look at the things you need to protect your car from-
- a. Washing the car, from sprinklers and rain.
- b. Leaving the car outdoors, allowing dirt and debris to set on.
- c. Leaving the car under a tree, allowing bird poo, tree sap, or pollen to set on.
- d. Leaving the car under glazing sun, this will weaken the coating.
- e. Scraping or scratching the coating physically or chemically.
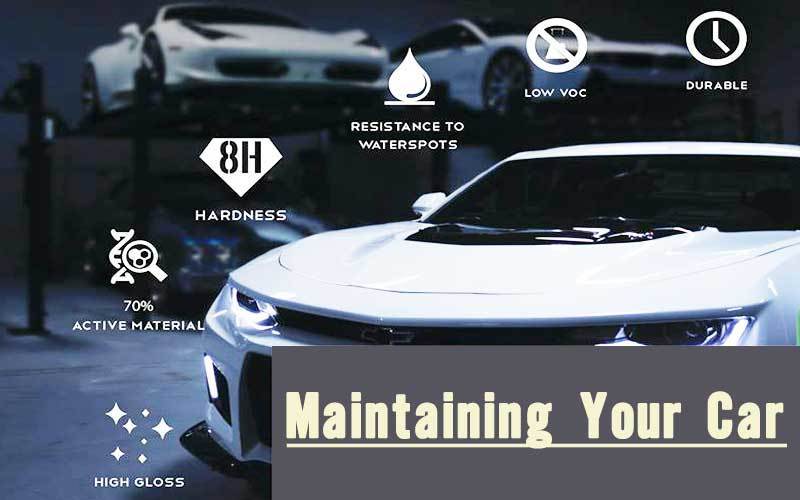
Step 4: Maintaining Your Car After Ceramic Coating
- Maintain Your Car For Longer Result: So, you’re done with the hard part, applying the coating. Now, you are free to blabbermouth and display. However, you might need to do a little more than that. Make sure you maintain the car so that the coating stays intact for the longest time possible.
- Wash The Car Correctly: Do not use acidic and harsh soaps (like detergent or dish soaps) to clean your car. They’ll contaminate the coating and it’ll decay over time. Use suitable pH neural soaps or shampoos that are made for car washing purpose only. Make sure you don’t cross contaminate when you wash the car. To avoid that, use separate washing clothes and soap for wheels. Also, do not wash the car under direct sunlight. It’ll let the soap dry quickly and leave stains on the paint.
- Let Dry Your Car Properly: Many of us leave our car unattended after washing. This is a mistake. Tap water drops contain minerals that might dry and leave stains on the car surface. Make sure you wipe the surface with a dry towel after every wash. Use a microfiber towel which has a great capability to soak water.
- Don’t Get Aggressive While Removing Spots: While we don’t stand the sight of a single spot on our precious car, it’s important to stay patient.
- a. Never use excessive pressure or force on the surface to remove any stain.
- b. Never use overly strong chemicals to polish or remove stains from your car.
- c. Don’t get crazy on the sight of bird droppings. They tend to dry and break down naturally after some days. Remove bird poo, sap, and tar gently.
- Don’t Do Overboard: Many people go overboard with the protection of their car painting. They use additional layers of wax or sealants over the ceramic coating. This is pointless. The reason you spent time and money doing ceramic coating is it stays intact for a long time. Anything additional isn’t necessary. Also, the wax won’t bond with the paint due to the ceramic coating.
- Use Maintenance Boosters: Well, this step isn’t something you must do. But it’ll help your ceramic coating stay around for a longer time. They’re basically a version of ceramic coatings, just more concentrated. You can use them once every 3-4 months after applying the ceramic coating. What they’ll do? They’ll fill any small gap or decay that the surface might have started developing. Also, they’ll bring the old glossiness and water resistance back. You might be wondering, why don’t just drop all the fuss and apply wax spray every 3-4 months instead? Well, the application interval might be the same, but you won’t get the same glossiness or protection. Especially if you’re wishing to keep your car look like new, wax won’t be sufficient.
Final Thoughts
Applying a ceramic coating can be costly and time-consuming, there’s no denying that. But so do every other repair jobs you might face in the future.
Also, everyone loves it if a car looks new, year after year. There’s a saying, “you get what you give”. Spend a little bit of extra time and money will pay you down the road.
You can always take help from a professional to do this job. But if you know how to apply ceramic coating, you can do it in your own time and terms. Hopefully, this guide will help you to get the job done, easily and flawlessly.



This is an amazing and easy method to coating on car. I’m looking for this kind of helpful information. This information will help me a lot. I did put on my car ceramic coat myself. But it wasn’t so beautiful. I will follow this method to coat again. Thanks a lot.
I am glad that you clarified that we don’t need to put on a wax coating before the ceramic coating. We knew that we needed the car to be clean and polished, but we weren’t sure if that included a layer of wax. I didn’t know that the ceramic paint would bond with the wax instead of the surface of the car if we did that. Thanks for the clarification and tip on ceramic painting