There are some very important features in a car which everyone wants to be perfect. These features are never recompensed by the customers when going for a specific model.
One of these important features is the air conditioner of the car. In hot areas, you want your car A/C to always work perfectly and efficiently.
The ingredient used in the refrigerator and A/C of your car is called a refrigerant, and the performance of the car’s cooling system depends greatly upon the quality of refrigerant.
Basic Things to Know
Regulations/Requirements of Refrigerant
Requirements of Refrigerant
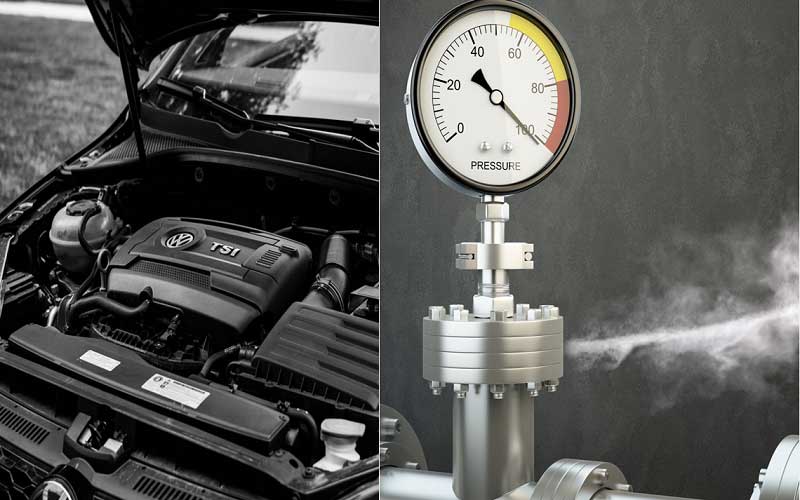
In order to meet safety regulations and work well, a refrigerant should have two necessary characteristics. It cannot be poisonous or inflammable.
R-12
R-12
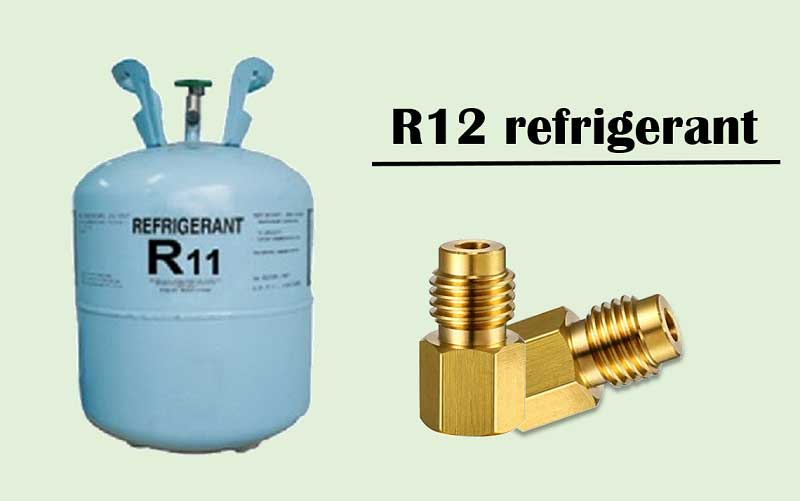
In the early 1900s, a new refrigerant came into the market, which was based on chlorofluorocarbons (CFCs), mainly dichlorodifluoromethane. It was neither inflammable nor poisonous and worked wonders in the car’s refrigerators.
It was called R12 or Freon. It was used for many years in propellants and fire extinguishers as well. It was also included in the refrigerators. R12 was well-known for its good working capacity and eco-friendliness.
However, later in that century, it was found out that there was a hidden danger posed by this refrigerant. There was found to be a drastic link between ozone layer depletion and R12.
So, under an international agreement, a law was introduced worldwide to stop the manufacturing and use of CFCs. In 1996, the International manufacturing of R12 refrigerant was ceased.
R134a
R134a
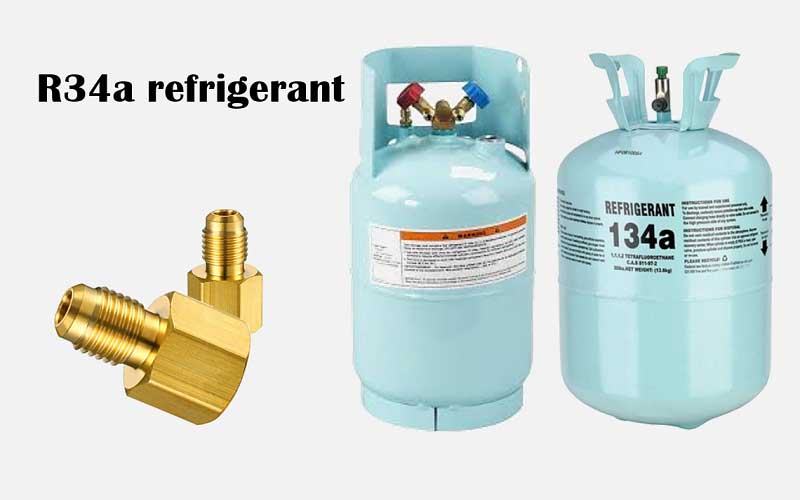
After the R12 manufacturing stopped, manufacturers started looking for a new refrigerant. The replacement made in automobiles was in the form of refrigerant 134a, also known as tetrafluoroethylene.
Tetrafluoroethylene was a type of hydrofluorocarbon (HFC). R134a is also sometimes called ‘Freon’ although it’s not a CFC, which means ozone-depleting properties do not exist in R134a.
There were, however, some challenges in the usage of the new R134a refrigerant in the old system. The molecules of R134a were smaller than R12, so it was feared to leak out of the flare fittings and hoses which were in use by previous R12 systems.
R134a operates at higher discharge pressure, which can cause compressor seals to leak out. The result was evident- R134a could not cool as well as R12.
There was also an issue with the oil used for lubrication purposes, which was washed away in the air after being absorbed by the refrigerant.
The previously used oil in the car systems was not compatible with the new refrigerant as it was not dissolved. It had to be changed to a new PAG oil.
R12 to R134a Conversion
R12 to R134a Conversion
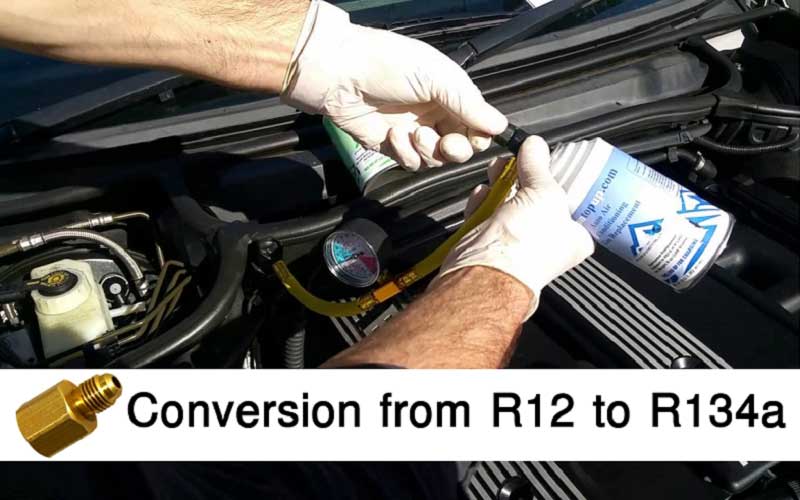
Now in order to abide by the law, the cars manufactured before 1995 needed to have a refrigerant conversion from R12 to R134a, which also led to further complexities.
As R12 used a different oil that was not fit to be used with R134a, the replacement was not that simple. But if your R12 system is working well and not leaking, you can still use it.
The problem arises when the system becomes old enough, and the refrigerant starts to leak due to the weary case. It is bad both for the environment and for the performance of your A/C. In such a condition, you need to recharge your refrigerator.
Due to lack of R12, it’s price also went sky high. You must be legally authorized in order to buy R12, and it is also not easily available. So, you will most probably go for the replacement option.
Methods of Replacement
Methods of Replacement
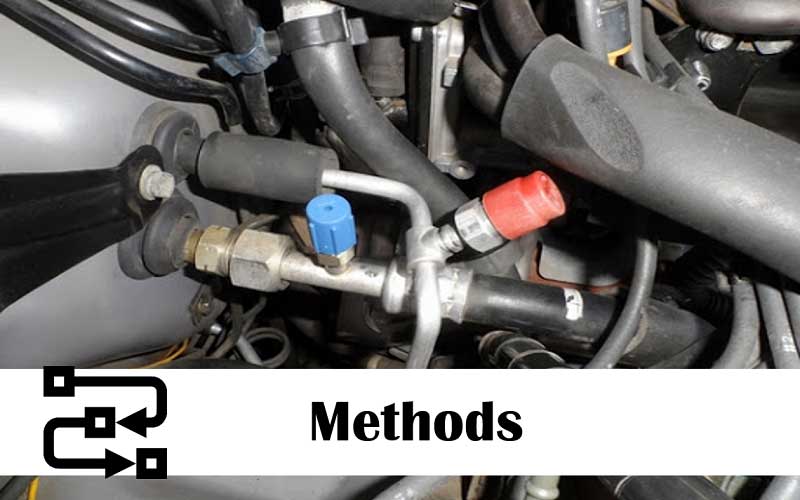
When it comes to the replacement of the system, there are two methods generally applied. One is called the factory method, and the other one is called the easy method.
The factory method is more expensive as compared to the easy method as all the old parts are replaced with the new and compatible part, whereas the other method is simply a modification in the existing parts.
You might want to go for the simple and easy method, but it is advisable to go for a factory method as it is professionally administered and results in better performance and adaptation of your car system to the new refrigerant.
Compressor Replacement
Compressor Replacement
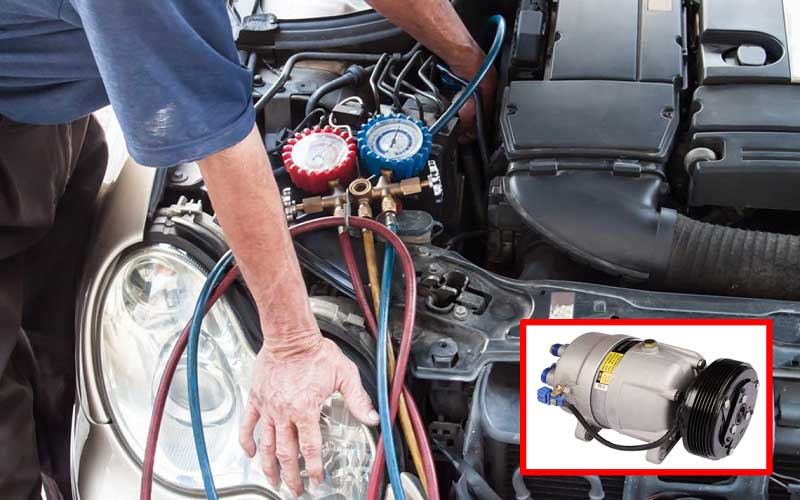
You should replace the compressor of your old vehicle with a new and powerful compressor as R134a uses high pressure due to its larger sized molecules as compared to the R12.
So simply filling the old compressor with the new refrigerant will not make things work out as they should, and you will face performance issues. It can even result in a leak in the long haul.
If your car is consisting of the hold Harrison DA6 compressor, you should replace it with HR-6, HE-6, or HR6-HE. If you had an old Ford with a FX-15V compressor, you should go for the new FS-10 compressor.
Calculate the amount of 134a Required
In my opinion, it is one of the most important steps in the whole drill. It is rather more of a pre-requisite so that you will not waste any extra refrigerant, or on the contrary, you’d not face a lack.
The reason you need to calculate is the weight difference between the two. R12 is heavier than R134a and has smaller molecules. Comparatively, larger R134a molecules should take more space, and a smaller amount might be required.
You can use the R134a retrofit capacity chart for this purpose. Generally, the new amount is 75-85% of the quantity advised by the manufacturer. R134a has a lower tolerance for mischarging, so you will face worse performance even if you overcharge as compared to the R12.
Find the capacity for your current system and multiply it with 0.9 than subtract ¼ pound to get the exact amount you ought to use.
Necessary Parts for Conversion

Parts for Conversion
There are some important parts you will need in order to perform this conversion. These include:
- Compatible AC compressor (already discussed)
- AC Flush/ Service kit
- Green O rings for the R134a
- R134a port adaptors
- Complete HNBR O-ring kit for your vehicle
- R134a pressure switches
- R134a orifice tube
- New R134a accumulator/dryer
- R134A Retrofit Label
- New hoses compatible with R134A
- New barrier style hoses for pre-1990’s vehicle
Steps for Conversion
After you’ve managed all the required components for the conversion and managed the amount of R134a required. You should go for the conversion steps.
Following are the steps you can use for an effective conversion:
Removing remaining R12
R12 Removing
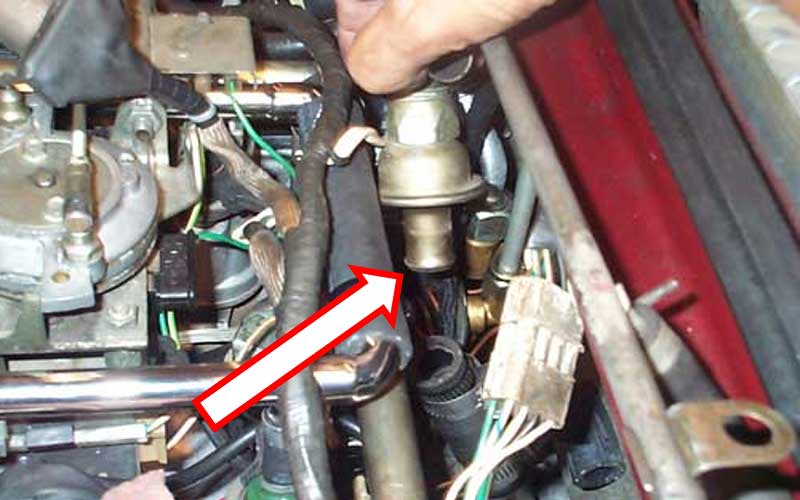
First thing’s first. You need to have already present residues of the R12 refrigerant from the pipes and the cases in order to avoid any troublesome mixing. This task must be done by a professional to avoid any type of ado.
The care is to be maintained as accidentally releasing R12 in the air is deteriorating for the environment and is a punishable offense under the law.
Finding high and low service ports
You need to open the engine compartments. Find the high and low service ports for the R12 air conditioning system. Push the new R134a fitting over the old fitting. You need to use torque fitting to 20 foot-pounds
Valves and Hose
Ensure that all the valves in your manifold gauges are closed. Connect hoses to their respective side ports. Blue hose is to relate to the lower side port while the red hose is to relate to the higher side port.
Yellow hose is to be hooked with the vacuum pump. Start the vacuum pump and open both high and low valves on the manifold gauge. Allow the pump to run for around an hour.
After the pump has run for enough time, close all the three valves and switch the vacuum pump off.
Oil Addition
Pouring oil in compressor
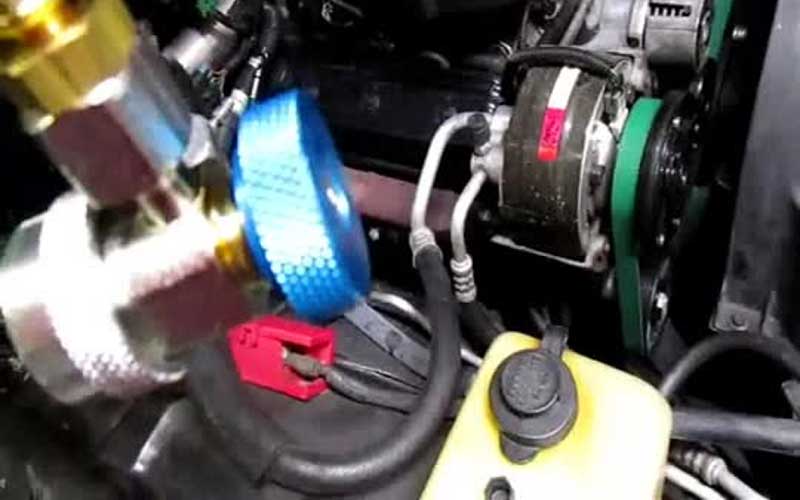
Connect the R134a refrigerant can lead to the yellow hose. Now open the lower side valve in order to allow the passage of oil. You must add the exact amount of oil as required. You can refer specifications manual for this.
R134a Addition
Now is the time to add 134a to your refrigerator or A/C. You must add the required amount so that there is no lag in the performance. Close all the valves and remove them after that.
Testing Phase

Testing Phase
Now you need to check whether the amount you added is adequate for the top performance. Screw the T-valve on the top of the can and start the engine.
Now you need to set the air conditioner to its highest point. Put the thermometer at the center to measure the temperature so that you can add or remove R134a.
Withdrawal
Connect the T valve to the lower side port and open it. Allow the refrigerator to drain for five minutes and check the inside air temperature. Continue adding until you add 10 percent less than maximum capacity.
Final Thoughts
We have tried our best to give you a comprehensive insight on conversion from R12 to R134a and tell you about the consequences of using the R12 system.
You should always go for the factory method and do it as soon as you encounter a problem so that you don’t have to feel any type of consequences afterward. I wish you Goodluck!


