
How to Get Air Out of Brake Lines Without Bleeding: Step by Step Guide
Your car’s braking system is one of the most important parts of a vehicle: that’s why it’s vital to take care of it and to promptly solve any issues.
The most common problem you can face is related to minuscule air bubbles that can form in many different ways. The most common is bleeding.
Bleeding is very effective, but it takes time and a lot of effort. That’s why there is another method, much easier and doable.
In fact, you can get the air out of brake lines without bleeding. Just by following these 10 steps, you can get air out of your brake lines.
How to Get Air Out of Brake Lines Without Bleeding
You can get the air out of brake lines without bleeding by following these steps:
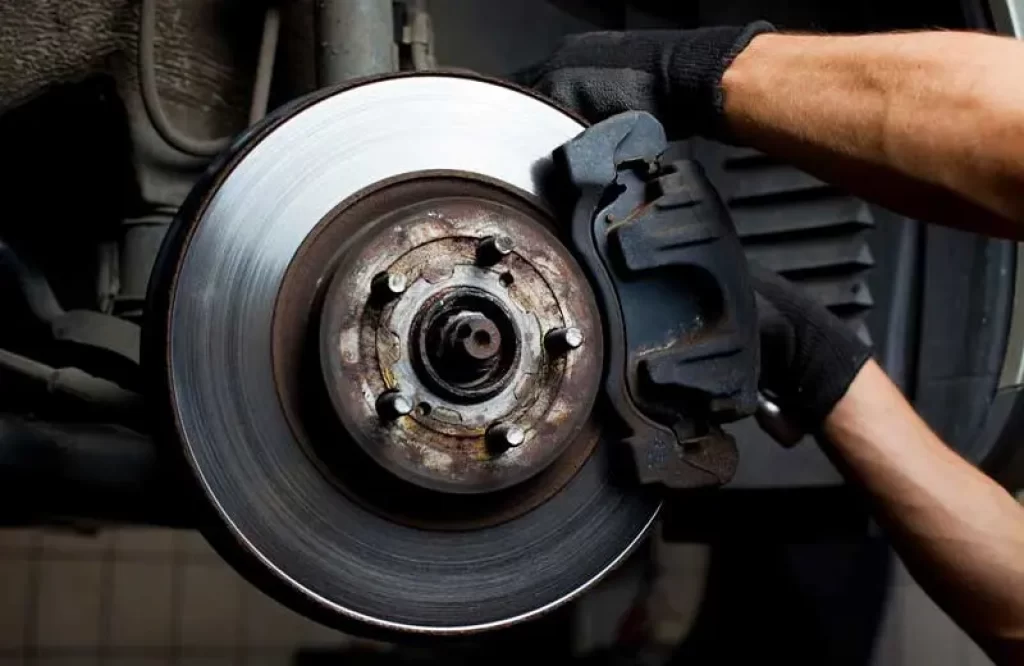
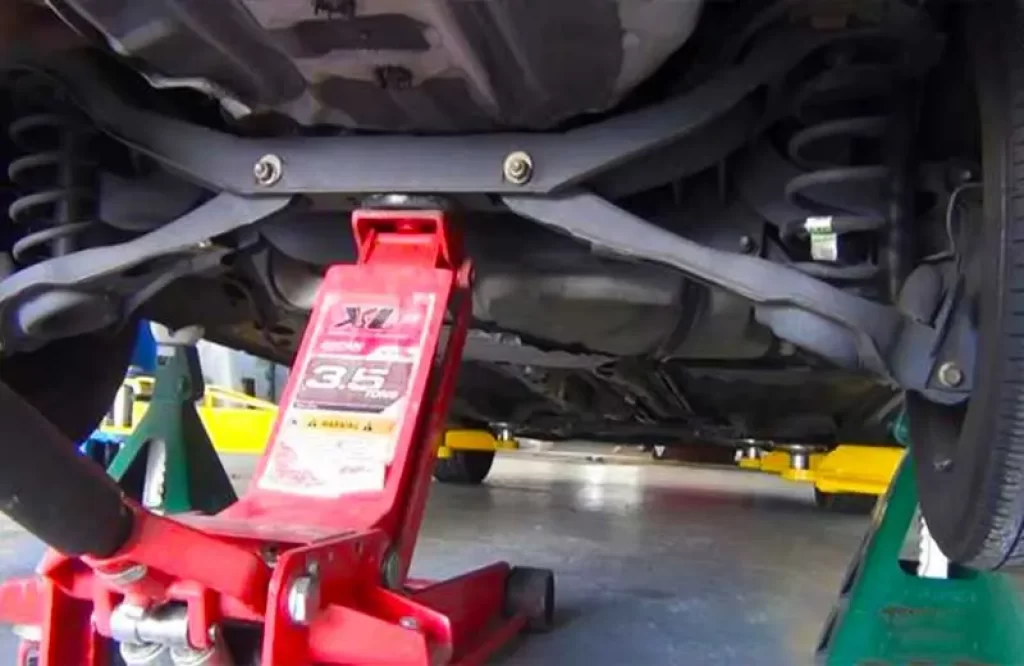
Step #1: raise your vehicle
Raise your vehicle, remove the wheel and use a clean cloth to wipe off any crud or dirt from the area where the brake lines are attached to the car.

After you wipe the dirt from the area clean, you will need to dry it. You can either use a clean cloth or compressed air.
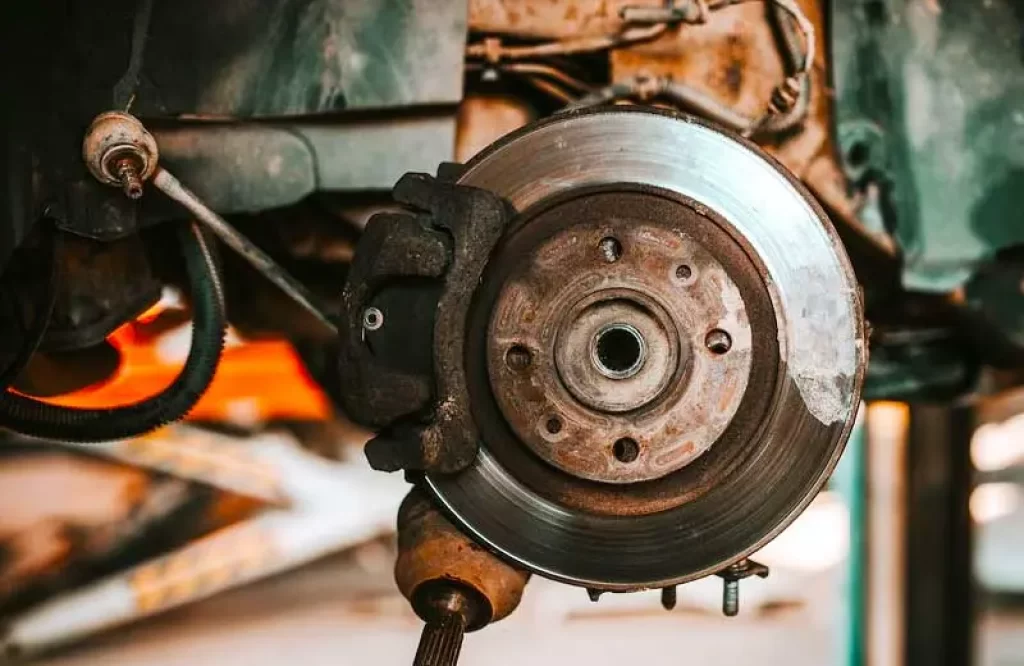
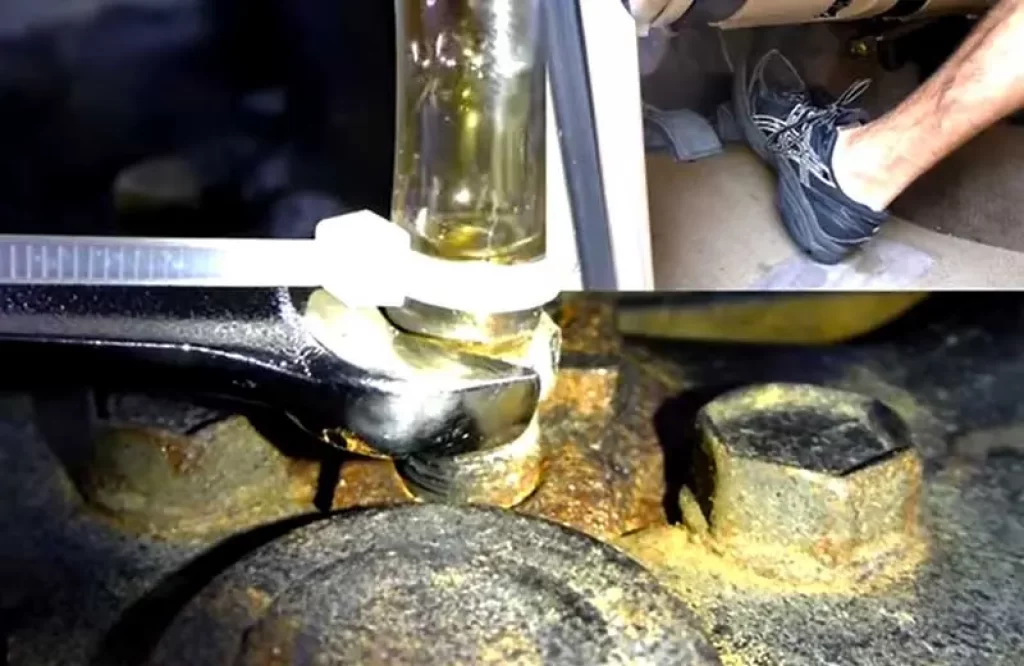
Step #2: find bleeder bolts
Bleeder bolts are a long cylindrical plug at one end of your brake line: it is used to relieve pressure inside the brake lines.
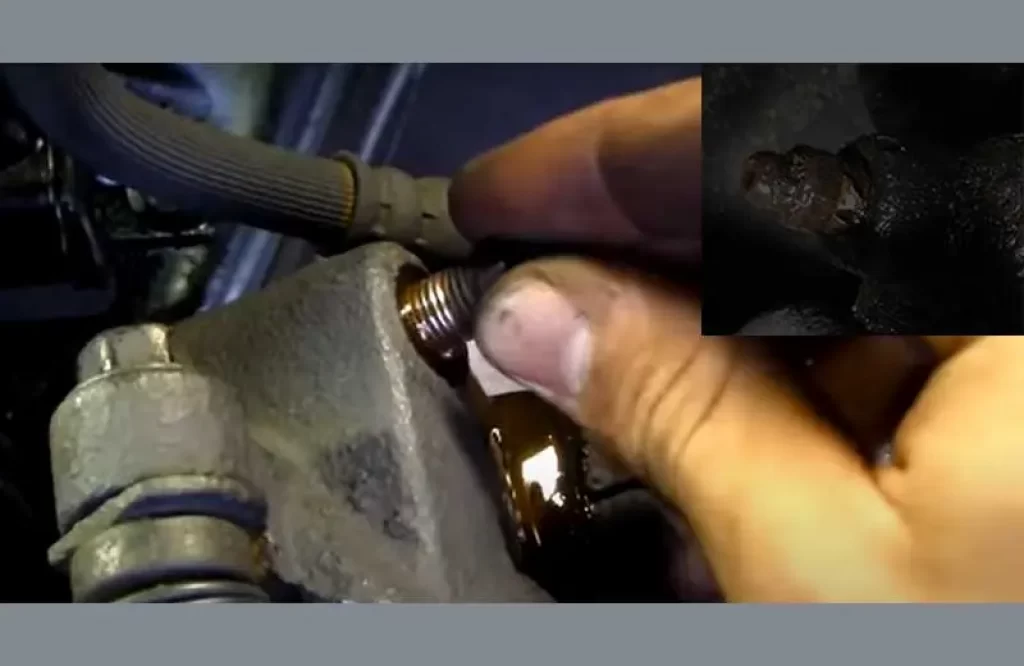
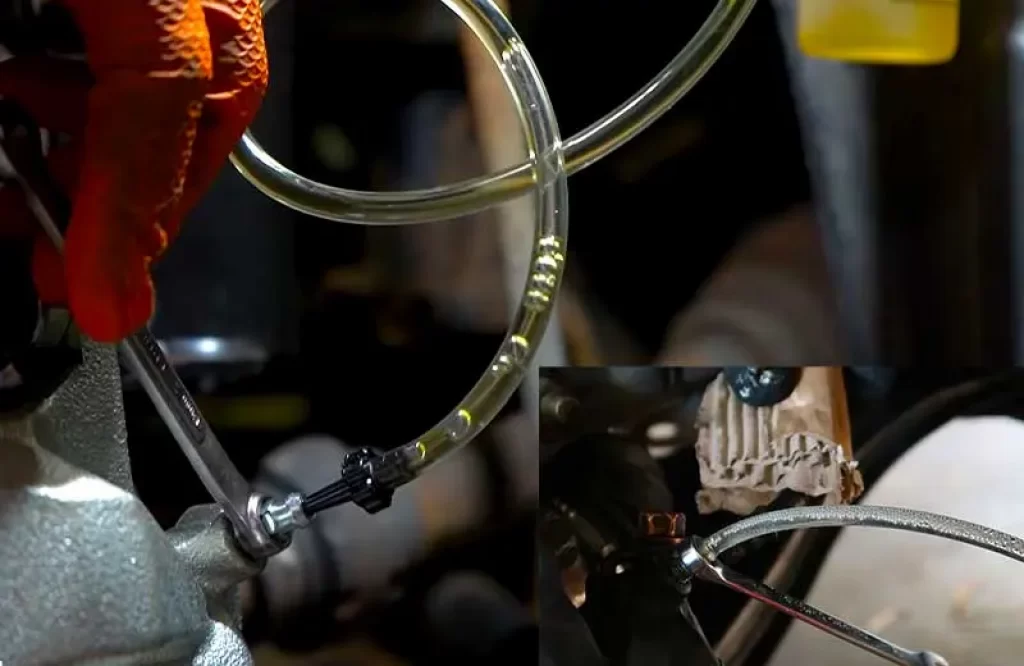
Step #3:loosen bleeder bolts and attach tubing
Loosen the bleeder bolt, then place tubing over the opening of the brake line and attach it to the bleeder valve using a wrench.
Step #4: have a friend apply brakes
Ask your friend to push down on the brake pedal several times. This will cause some fluid to come out of the line so that it can be flushed with fresh fluid.
Your friend needs to keep applying steady pressure so that every bit of old fluid is forced out of brake lines through the tubing and collected in the container.
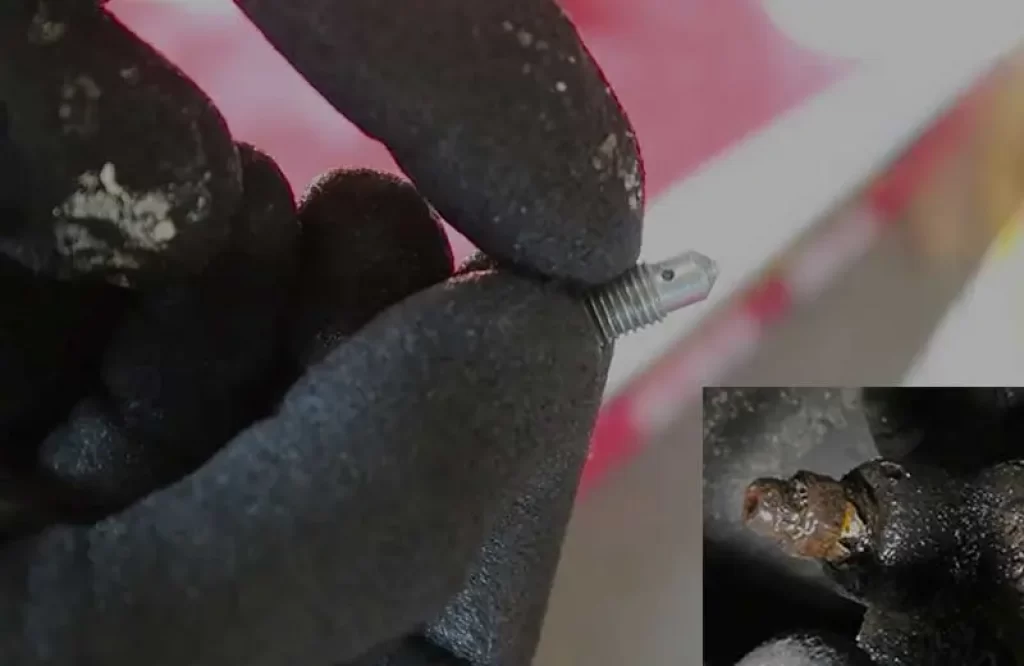
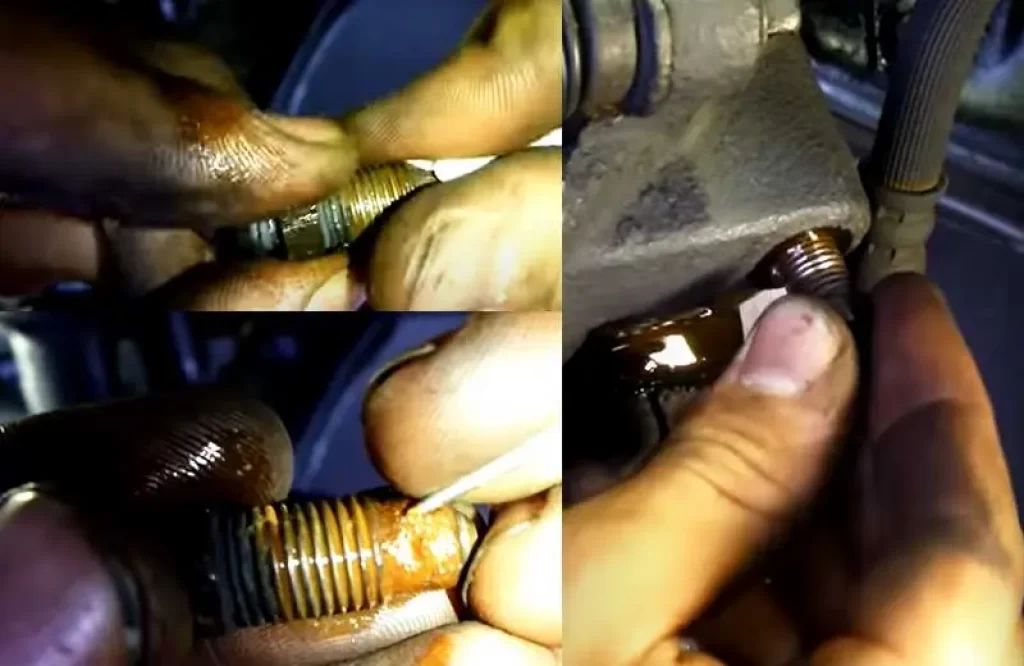
Step #5: clean the bleeder bolt
Your friend can stop applying pressure on the pedals. You need to take off the tubing and clean the bleeder bolt with a cleaning cloth or compressed air.
Make sure you apply some lubricant around the area where the line connects to the car so that you don’t have any problems tightening it later when you are finished bleeding.
Read Also: 7e8 Code for Different Engines
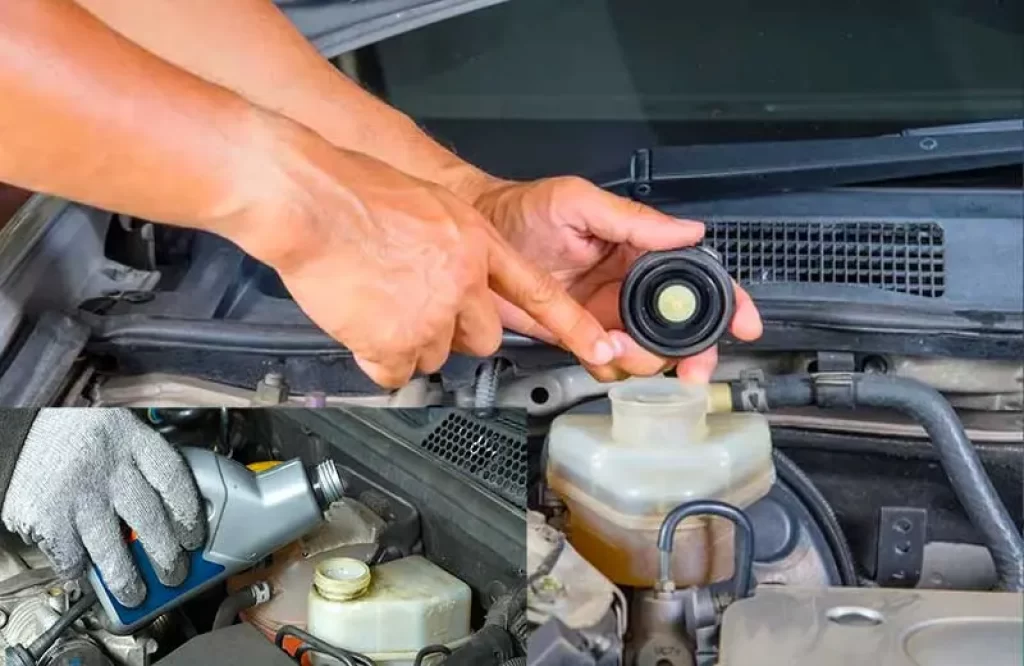
Step #6:clean the bleeder bolt
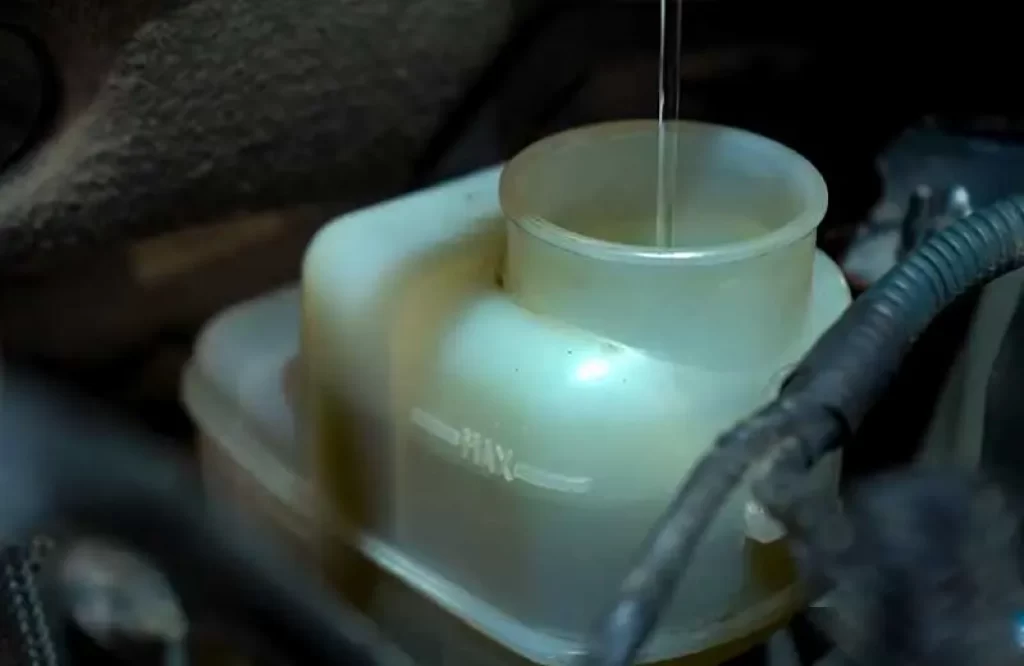
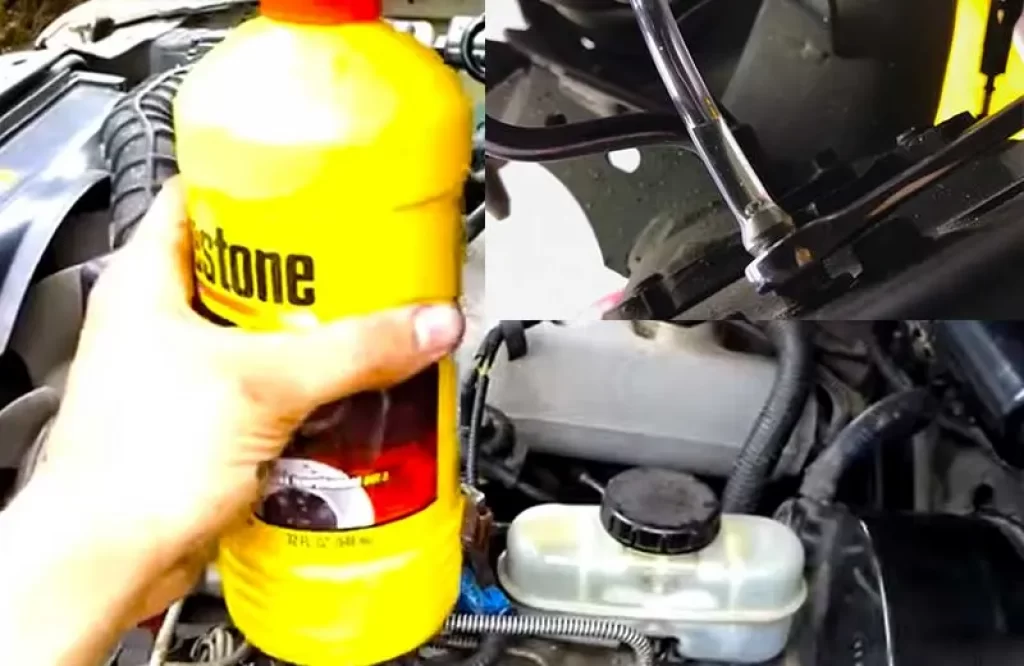
After air has been removed remove the cap from the master cylinder reservoir and add brake fluid using a funnel slowly while you keep the pedal pressed.
After you have added brake fluid into your master cylinder reservoir, throw down the parking brake and wait for a few minutes.
Step #7: tighten & secure the bleeders
Tighten the bleeder bolts while still looking for air bubbles in the lines with your friend’s help: this will ensure that no air gets inside the lines again.
Step #8: repeat the process for every wheel
Once you have successfully bled out the air from one wheel, you have to repeat the same process for every other wheel.
Read Also: Best Brake Caliper Paint
Step 9: fill your brake fluid reservoir
Check all your brake lines once again to make sure that there are no leaks causing air bubbles inside the lines.
Step #10: go for a test drive
Now that the air is removed, you can go for a test drive. After the test, check all your wheel cylinders to make sure that they are full of fluid.
How to gravity bleed brakes alone
Gravity bleeding is a method in which new fluid is introduced into the system while the old fluid is drained. The incoming fluid expels any air bubbles that may form.
If the brake system is heavily loaded from long and prolonged driving, it heats up and the heat is transferred from the brake pads to the brake pistons and from there to the brake fluid.
Read Also: Air in Brake Line Symptoms
Step 1: raise your vehicle above the ground
First, you need to raise your car. Make sure the car is secure before working on it. If you shake it slightly, you can see if it is holding steady.
When the car has been raised and is standing securely, you must remove the wheels. Use the wrench for this.
Step 2: find the brake fluid reservoir
Find and remove the top of the master cylinder reservoir. As a general rule, it is located in line with the brake pedal in the engine compartment.
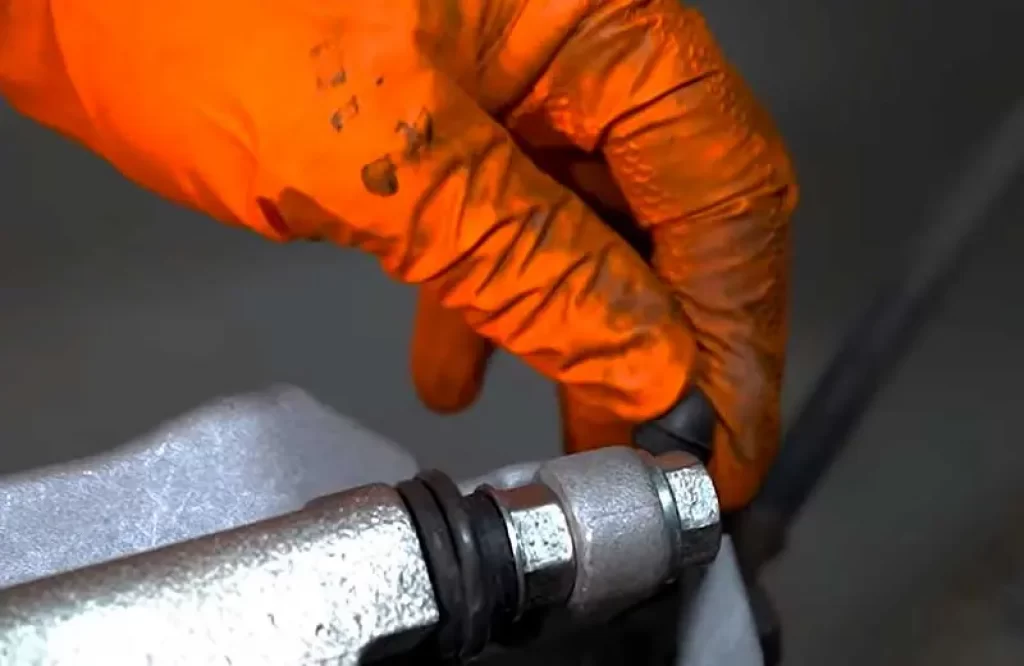
Step #3: attach the plastic tubing
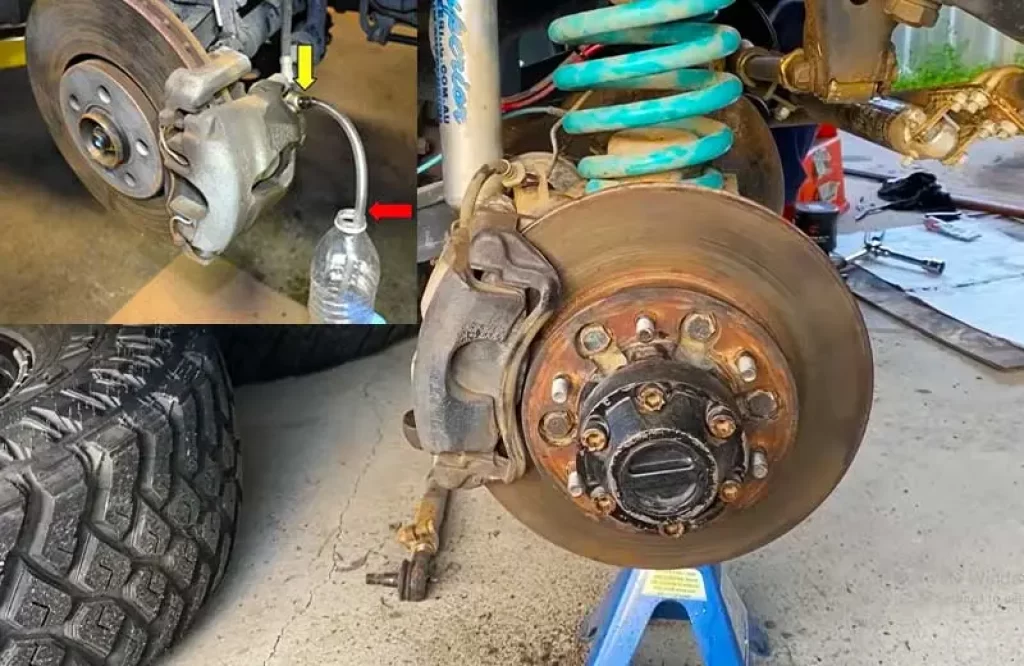
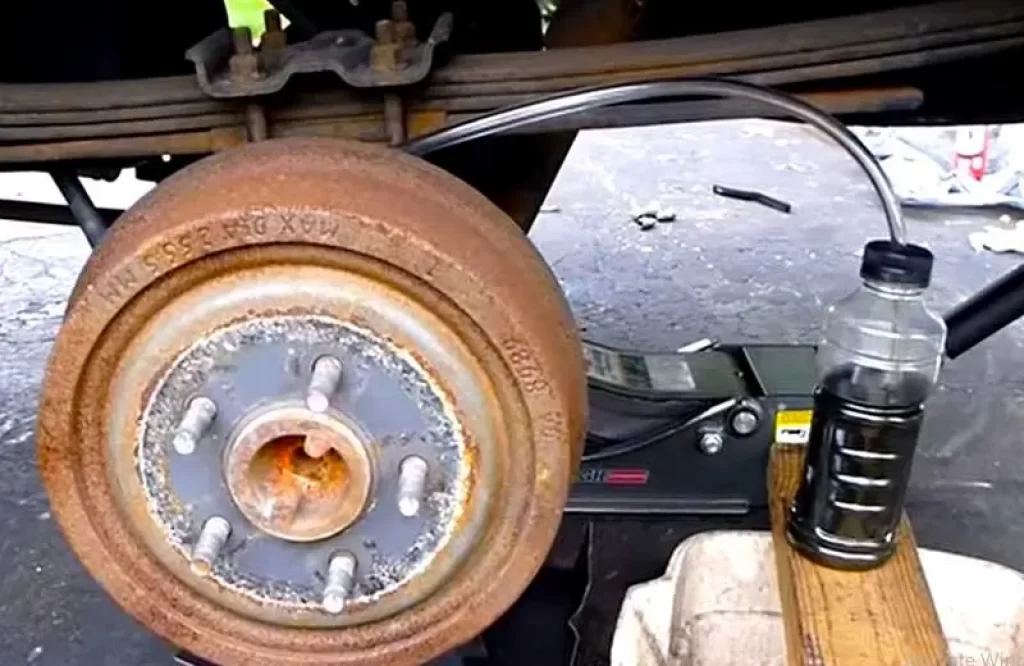
You will need to start with the brakes that are located furthest from the master brake cylinder: these are usually the right rear brakes.
Locate the brake line bleeder screw and slide the end of clear tubing over the screw nipple.
Dip the other end of the tubing into a container that is held above the fluid reservoir. This will prevent air from being sucked into the brake system.
Step #4: release the air bubbles
Loosen the bleed nipple screw with the wrench. While the hose is still attached, loosen the bleed screw. This opens the brake line and allows the fluid to flow.
Since the brake fluid reservoir is higher than the bleeder screws, gravity may cause a small amount of fluid to flow into the hose when the bleeder screw is opened.
This is a good sign that there are no obstructions in the fluid line. This process will take about 3 to 4 minutes, so you will need to be patient.
To speed up the process, take a wooden handle or a rubber mallet and tap the brake calipers several times. Check your brake fluid reservoir, it should be properly filled.
Step #5: close the bleeder and replenish brake fluid reservoir
Close the bleeder. Before removing the clear tube, close the vent screw to prevent air from entering.
The bleeder screw does not need much force to close.
A quick tug should be sufficient. Brake fluid will come out of the hose and you will have a rag ready.
Check the brake fluid level in the reservoir. You will see that the level has dropped a little. Add more brake fluid to refill the reservoir. Do not let the brake fluid reservoir run dry.
If there are air bubbles in the previous fluid, repeat the above steps until the fluid is clean and clear.
Step #6: bleed the remaining brakes
Repeat this process for each other brake valve until all four are fully vented. Make sure the amount of brake fluid in the reservoir does not drop below ¼ cup.
Step #7: go for a test drive
Step firmly on the brake pedal to make sure it is nice and firm before starting the vehicle. Take the vehicle for a drive and slow down with a firm application of the brake pedal to test its work.

The brakes should have a very quick and sharp response to your pedal applications.
Final Thoughts
Getting rid of air from your car’s braking system is quite doable, even if you are alone and with no special tools whatsoever.
If you feel that the pedal is still too quiet or the braking power is insufficient, you should ask a local expert for help.

