If you have a car then you know very well the importance of car headlight. If one or both headlights of your car is damaged, then you must be caught by police very soon because of it’s a violation of traffic rules. As a result, you have to pay fine and got a punishment. So, from at this moment, you should be aware of it. Otherwise, you may fall into a big accident.
You don’t go to a mechanic to change the car headlight bulbs because it is very easy if you follow some step by step instructions. It’s a good practice that if you check your car headlight bulbs once per week. If it has any problem, then you should take necessary steps as soon as possible.
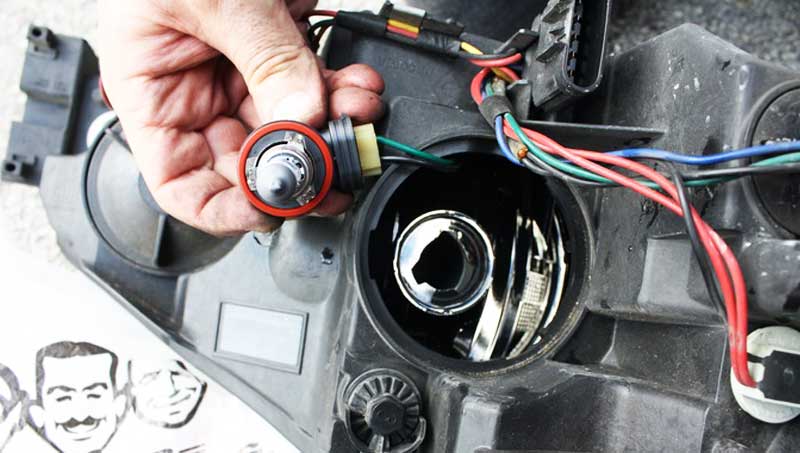
Why and When You Should Replace Headlights
When your car’s headlight bulbs and other bulbs do not work properly, it must increase the probability of an accident. As a result, it’s a big risk for your life. A headlight of a car provides support for approximately four or five years. After this time period, it goes down to blur with dimming. For these reasons, it will be difficult for you to see the other vehicles in dark mode and other drivers will not see you. As a result, an accident may occur. If sometimes the bulb dust cover is broken for the uncertain presser. As a result, the open place in the headlight bulb is fill up by dust. Though If you don’t change it at that time, you should make it clean.
Halogen headlight is the oldest model which brightness is poor. The modern headlight like LED and Xenon bulbs provide 35 percent brighter and also save 25 percent energy. So, after a certain period like four or five years, you should change your car headlight to keep safe in consideration of all facts.
How to identify your exact match bulb type
First of all, find out what type of replacement is needed at this moment. You can see your car manual to get the actual type of bulb and wattage as well as proper instructions at a glance. If you do not get these, then you can go to your nearest auto parts store with the burnt bulb and just match with a new one.
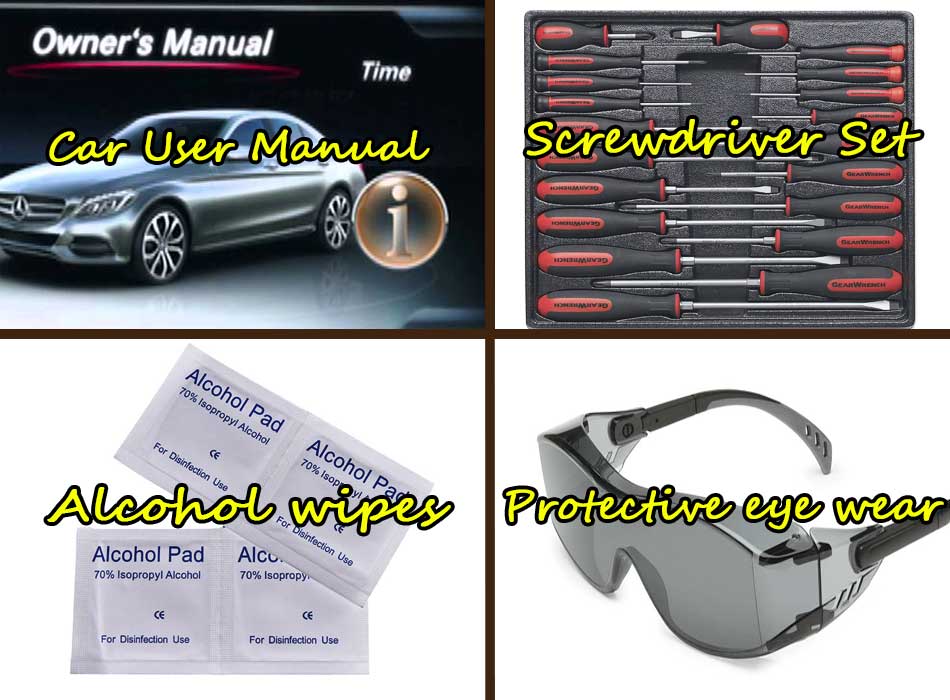
Essential Tools to complete this job properly
- Car User Manual: It will help you to find out the burnt bulb type and where the bulb is placed and how easily the bulb is switched out.
- Screwdriver Set: New Vehicle does not need to remove the headlight bulb but older have screw with clips to make safety the bulb.
- Alcohol wipes: It is not important. But if suddenly you touch the surface of the headlight that maybe make a bad spot. To wipe that spot, you can use alcohol.
- Protective eye wear: To keep yourself always safe to do these kinds of jobs, you should use safety glass.
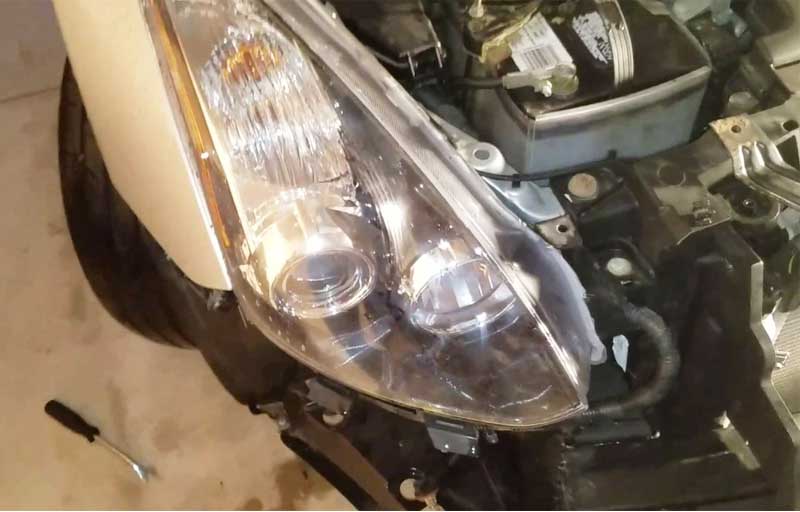
Follow the instructions to change the car headlight bulbs:
- Park your vehicle in a safe location where you must continue your work very safely.
- Make sure your vehicle is turned off, then open and prop your vehicle hood.
- Every headlight is mounted with clips or screws. Pull forward to remove the pin or clips. If the screw is used, then use the screwdriver to safely remove it. Most of the vehicles are approximately the same, so the concept is the same.
- There are three power cables that are connected to the plug at the back of the bulb. These are held by a screw cap, metal clip, and plastic catch that are depending on the vehicle model. Unscrew the screw cap, pull up and away from the metal clip, and push down the plastic catch.
- To do these above tasks, wires will be disconnected. Now remove the back part of the headlight holder. Sometimes for some special cases, you should rotate the bulb a little bit of time to get it free.
- Now holding the old bulb and match it with the new one very carefully to finally sure that you are using the right type of bulb to replace it.
- Now clean the headlight bulb holder, related plug and cables, all around the place as much as possible.
- Make confirm the new one is dust-free and free from the fingerprint. If you must touch the glass of the bulb, then use tissue paper or a soft cloth. Otherwise, it may be burnt at turn on, if any oily effect on it. So, if any kinds of dust or spot on the bulb have existed, you should use the alcohol to wipe the bulb.
- Holding the bulbs at end of the plug, perfectly line up the open socket and insert carefully.
- Set the power cable, screw, and dust cover. If any or both bulbs don’t turn on, then check the power cables and now test again. If all will be done perfectly, then the bulb will be on.
- Close the hood and drive your vehicle safely at all times.
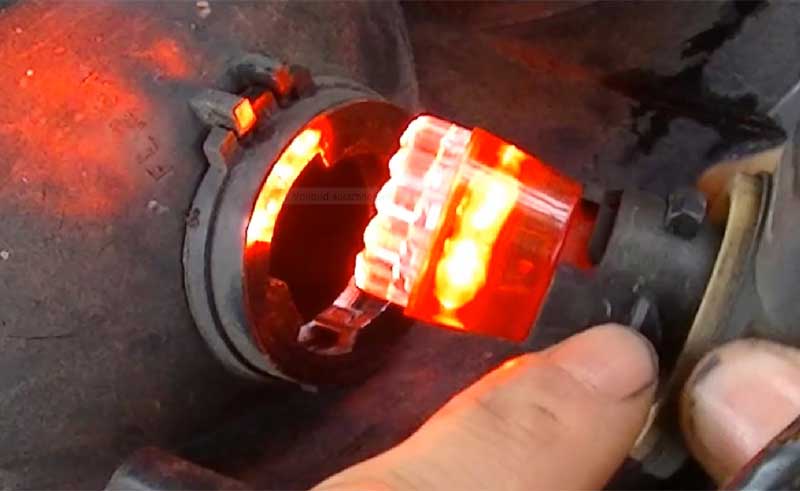
Extra: Replacing Tail Light Bulbs
It is simply different to change the tail light of a vehicle. Some tail light has the screw and some have the clip as a cascading system. You can use tabs or knobs or small screws to open the cover of the tail light. The power cable of the tail light is not attached as permanently. These power cables set up like a clipping pin. So, it is very easy to remove and set. Full details available here.
Conclusion
For safe driving, you can’t imagine without headlight bulbs as well as a tail light. Not only your car headlight helps you to see the obstacle in front of you but also helps to oppose the drive to see your car. Every headlight has two different modes that’s one is a primary mode where the light beam is a lower position which is low called low beam. Another is called secondary mode which is a high beam. A high beam is used on the open highway and opposing traffic is distracted by others. So, make a regular check to get a good service from headlight in order all time.


I appreciate that you’ve provided step by step instructions, along with pictures. This always helps!