How often do you clean the headlights of your car?
Not many people bother to clean their car headlights. But over time, one should always immaculate the headlights, not doing so can not only make your car look dull but it is also likely to put your safety in danger.
How many of you actually make sure to keep the plastic lenses clean?
Like most other parts, headlights are also the dominant part of every vehicle. With dusty and foggy headlights, you can find it difficult to get a clear vision of the front view which can be quite dangerous.
This is why it is very important and necessary that one clean their car’s headlights from the inside as well and not just from the outside.
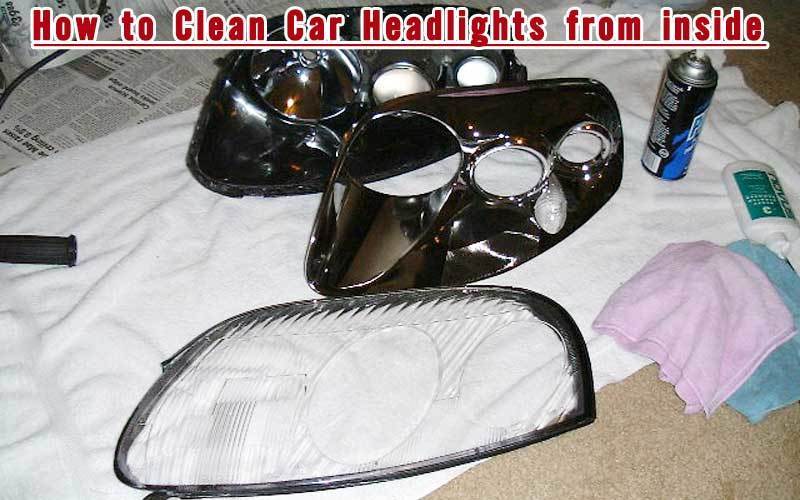
Before we begin, let us first understand what causes headlights to get cloudy.
A car is always exposed to sunlight. And because of it, the ultra violet rays from the sun fall on the surface of the plastic, which in turn leads to pockmarks and we find it cloudy and hazy.
On the other hand, pollution and moisture are also the cause that makes the lenses look dirty. But worry not, below mentioned are some of the ways through which you can clean the headlights of the car from inside.
How to Clean Car Headlights from inside (6 Methods)
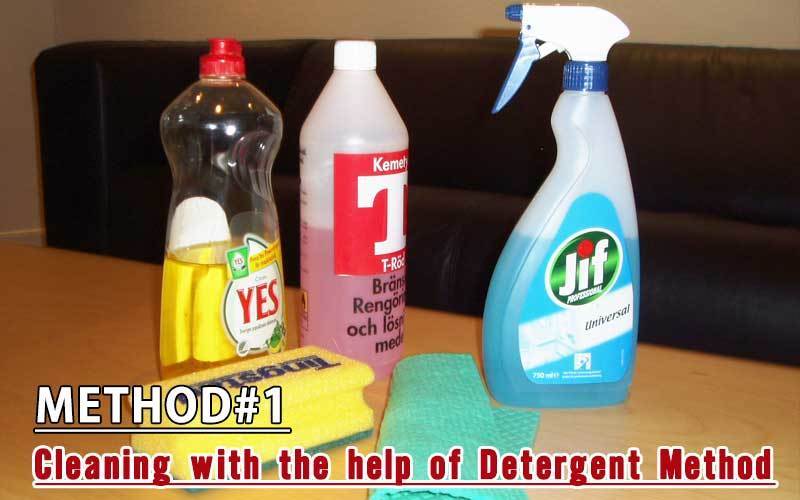
1. Cleaning with the help of Detergent Method
-
Step 1. Loosen the screws which hold the headlight in place
Firstly, open the hood of your car. Inside, you will see that there are some screws near the opening on each of the two sides of the car. Those are the screws that hold headlights in place. Remember that the screw’s location may differ depending on the model of your vehicle.
-
Step 2. Take out the headlights
Now after you loosen the screws, carefully and slowly let the LED headlights out of its crevice. You can take the help of your friend or anyone and ask them just to hold the headlights in place while you unscrew them one by one. Once you’re done with the unscrewing thing, unplug the electrical cords. Set the headlights onto a dry towel.
-
Step 3. Separate the headlight lens from the headlight
From the headlight assembly pry off the headlight lens. Again, you need to keep in mind that, for many vehicles, the headlight assembly can be different. So always refer to your manual to get to know about the proper way of removing the lens.
-
Step 4. Make a solution of hot water and detergent
Here comes to the cleaning part. For this, you need to fill one bucket with hot water and then add some strong cleaning detergent into the bucket. Detergent contains an acidic substance that will help you to remove and clear the filth that is buildup inside the headlight.
-
Step 5. Clean the lens with the detergent solution
Now dip a rough pad into the warm water. By using the abrasive pad rub away, all the built up grime on the headlight lens. Though keep in mind not to rub it hard enough. Just scrub it gently.
-
Step 6. Dry the Lens
Dry the lens off. Once it has dried, apply a glass polish layer to it. You might wonder why glass polish? Because it will help to keep the lens clean for a long period of time.
-
Step 7. Reinstall the headlights back
Once you’re done with the cleaning, fit the headlight lens back and reinstall the headlights into the car. Even while fitting the screws back, you can ask your friend to help you out by holding the headlight in place. Finally, reconnect the electrical wires.
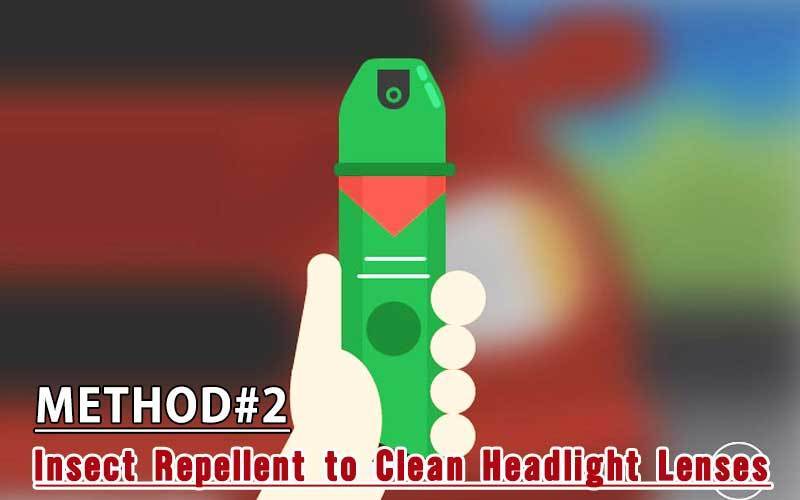
2. Make Use of Insect Repellent to Clean Headlight Lenses
-
Step 1. Buy a Deet bug spray
Firstly, buy some bug spray that contains Deet. You can get such spray from any local store if you already have it handy then well and good.
-
Step 2. Spray the insect repellent on the headlight lens
Now take a dry towel or any other cloth and spray the insect repellent on it.
-
Step 3. Clean the lens by wiping it rigorously
Now keep wiping the repellant towel on the lens till it becomes clear. If your lens is very dusty and foggy, then you need to rub it hard enough until all the cloudiness gets cleaned. Otherwise, you can get your work done easily with just normal scrubbing.
-
Step 4. Dry of the remaining repellent
The final step is very easy. All you have to do is just wipe off the remaining repellant from the lens with a clean paper towel.
Note: Keep in mind that you Don’t spray the insect repellant straight on the headlight lens. Always make sure to first spray the repellant on any towel or cloth and then wipe it off. The insect repellant method will clean your headlights, but it won’t be like a professional cleaning.
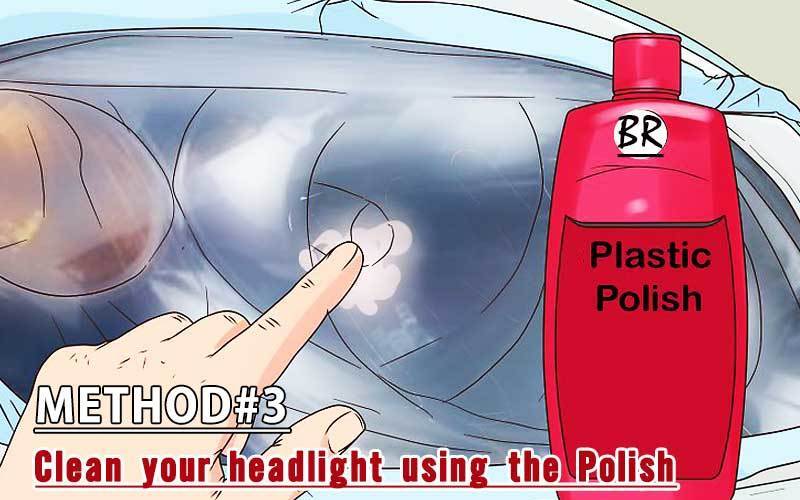
3. Clean your headlight using the Polish method
This is another method that is mostly used. Plastic or metal polish can be utilized. The polish will work amazingly if the headlights are cloudy from being scratched and not when they are cloudy due to the grime.
Make sure to read the recommendations on the bottle, as some polishes will leave a thick layer over the lens. This layer can attract even more dirt and grime, or at the least obscure the lens thus negating any benefit.
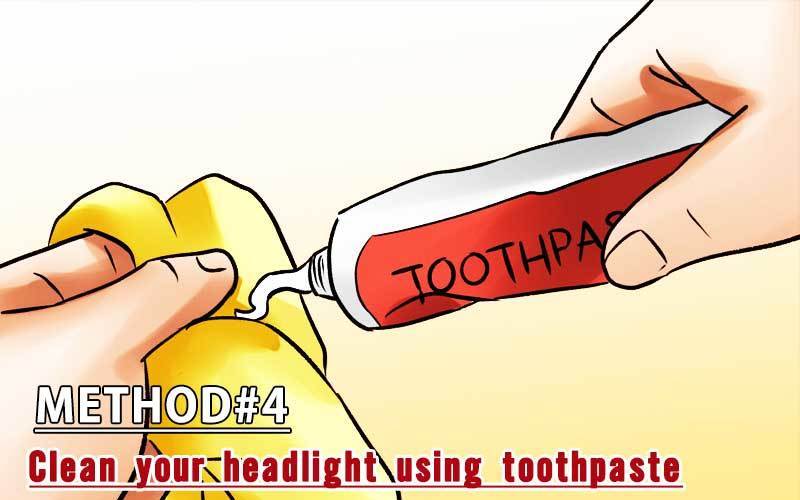
4. Use toothpaste and baking soda
The mixture of toothpaste and baking soda works like wonder in cleaning glass material mostly. Since the mixture is dry and sticky also requires less water, it is perfect for cleaning headlights from inside.
Using too much liquid might cause some disputes which you definitely do not want.
Mix toothpaste along with two teaspoons of baking soda and apply the mixture on the headlights, if possible use a toothbrush as well for better application and scrubbing of dirt.
Keep the mixture for a few minutes but do not let it dry because that will make it hard for you to clean it up.
Do not wash it with water instead take a cloth, dip it in water and squeeze out the excess water.
Note: To know more about scratch free car wash
With the cloth slowly wipe off the toothpaste and soda mixture to get shiny, and squeaky clean headlights like you had when your car was brand new.
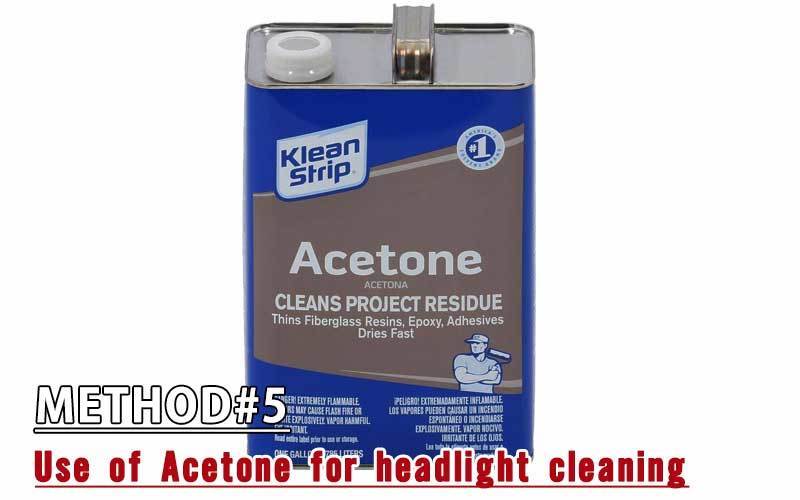
5. Use of Acetone
Acetone or nail polish remover can act as an effective cleaner as well.
Since it possesses evaporation properties, you do not need to worry about running the light or any wires inside. You can take some acetone on cotton pads and quickly rub all over the headlight until all the dirt is gone and it is shining like a gem.
This process might take some time and quite a lot of effort as well. But this is one of the safest ways to clean up the headlights and quite effective as well.
6. Let the Professional do it.
The above DIY may work well for many, but they are not the best solutions. You may ask why?
It is because of the fact that cleaning the lens by DIY techniques will not last for a long time. Your car lenses will turn dirty and cloudy in a matter of a few weeks.
The main difference between the DIY approach and a Professional job is that after cleaning the lenses and the headlights there is a special type of protective coating that is necessary to apply after the cleaning process.
We can’t find this coating everywhere, it’s mostly available to those involved in the automotive industry. This coating is also relatively costly.
There is a huge difference between the coating done with DIY techniques and the one done by professionals. A professional polish your headlight lenses in such a way that it makes them look like factory new.
It will remain clean for a very long time, like say for up to a year or two. A Professional is a professional after all!
Once you clean the lenses and the headlights from the inside, you will then begin to notice its benefits.
Benefits after cleaning the headlights and its lens
- It will improve the appearance of your car – The car that earlier used to look dull and dirty can look brand new just by cleaning its headlights. What’s better than this.
- It will improve your safety – Before everything, safety is what really matters. While driving one has to be sure that the vehicle in which they’re traveling is free from any kind of technical issue.
- It will improve night vision – There are places which are so dark during the night where if we don’t have our headlights cloudless then the chances are that we may face some difficulty while driving. This is where proper and clean headlights come to our rescue.
Our Final say
To conclude Car headlights are required to be clean not only for giving a new and polished look to your car but also it is needed to stay clean for maintaining safe driving. Driving in the night with foggy headlights can surely cause some dangerous unfortunate things which none of us wants to face.
So to stay away from any of such happenings from taking place with us or around us we should regularly clean our car headlights and check if they are functioning correctly, spreading out light incorrect directions and reaching out to distances or not.

