How to Prep Paint for Ceramic Coating: 7‑Step Pro Checklist
If you want your ceramic coating to last and look amazing, prep is everything. Think of it like painting a wall. If you slap paint on dust and grease, it peels. Same with coatings. Clean, corrected paint bonds better, shines longer, and makes maintenance easy.
This guide shows you a safe, step‑by‑step process I’ve used for years on daily drivers and show cars. We’ll keep it simple, practical, and real. I’ll also share common buyer complaints from product reviews so you can avoid the usual traps.
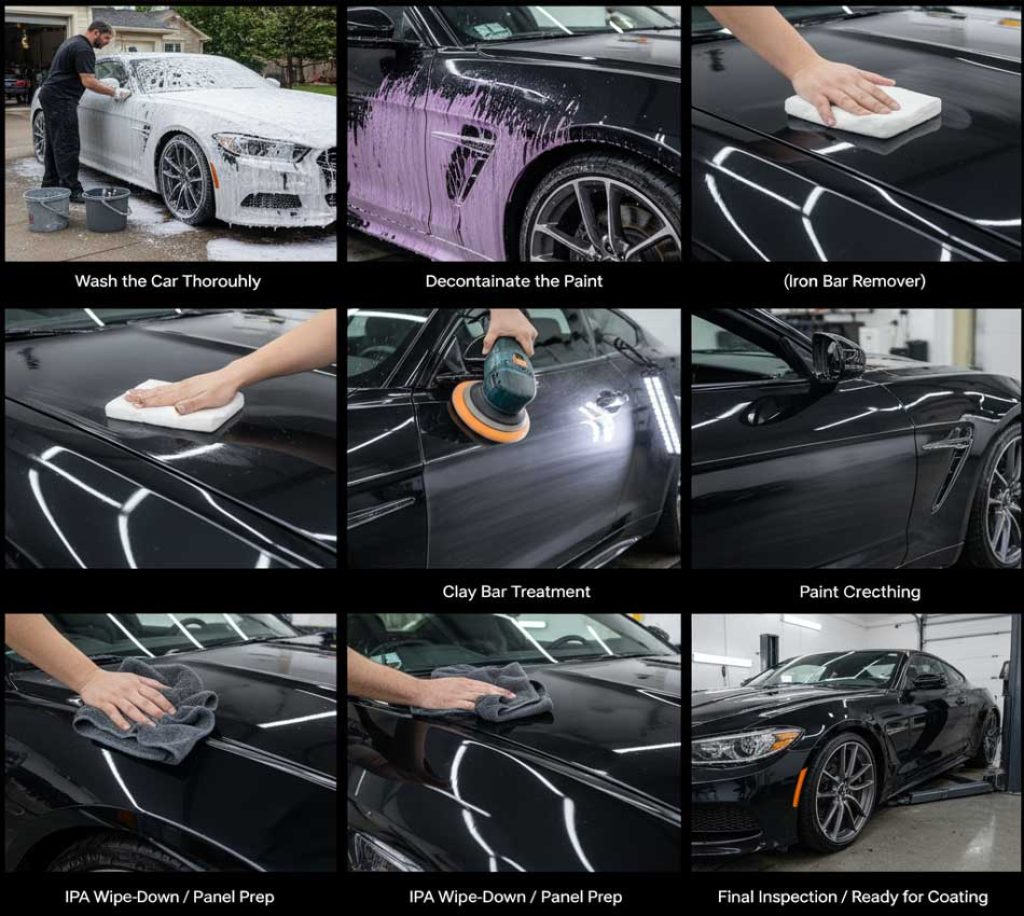
Quick promise: follow these seven steps and your coating will bond strong, look deep, and go the distance.
Who This Guide Is For (and What You’ll Achieve)
- Great for first‑time DIYers, weekend detailers, and anyone coating a new or used car.
- You’ll learn how to decontaminate, polish, and panel‑wipe paint so a coating sticks.
- Time and budget: 4–10 hours, 100–100–400 in supplies if you’re starting from zero.
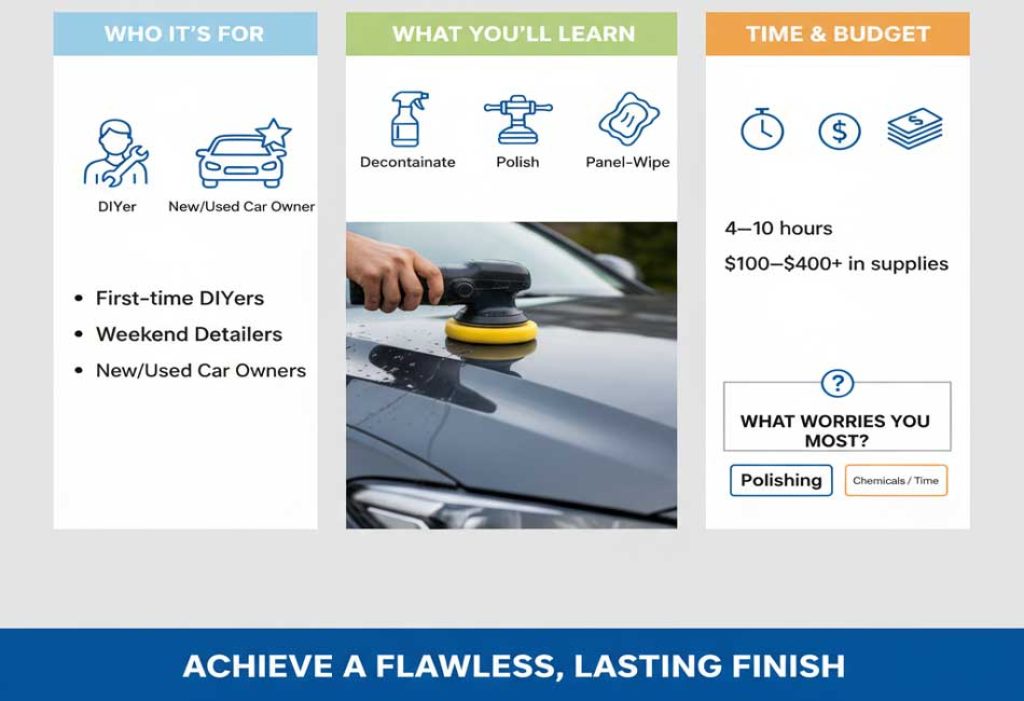
Question for you: what’s the one thing about this process that worries you most—polishing, chemicals, or time? Keep that in mind as you read. I’ll call out shortcuts where they make sense.
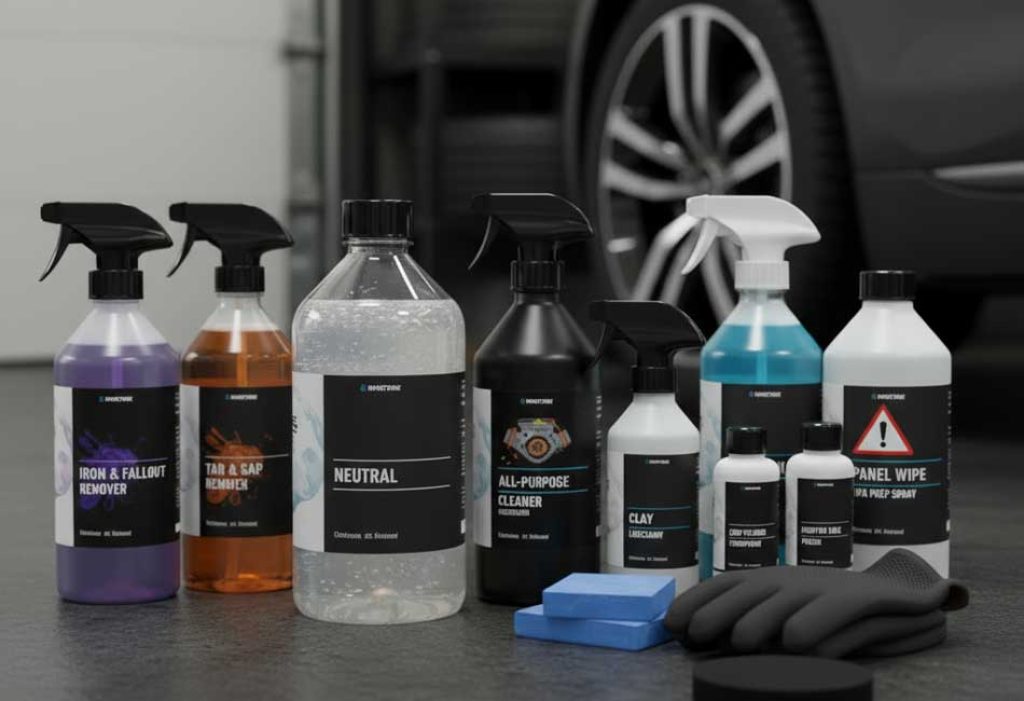
What You’ll Need (Tools, Chemicals, Consumables)
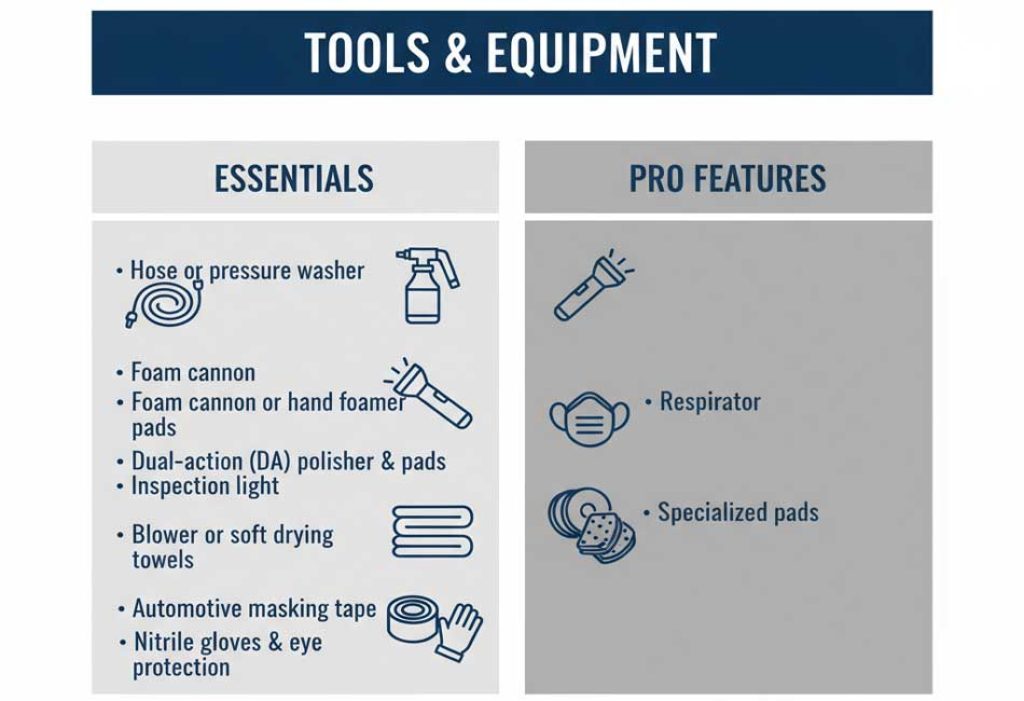
Tools
- Hose or pressure washer
- Foam cannon or hand foamer
- Dual‑action (DA) polisher and pads (cutting, polishing, finishing)
- Inspection light (flashlight works; brighter is better)
- Blower or soft drying towels
- Automotive masking tape
- Nitrile gloves; eye protection; optional respirator
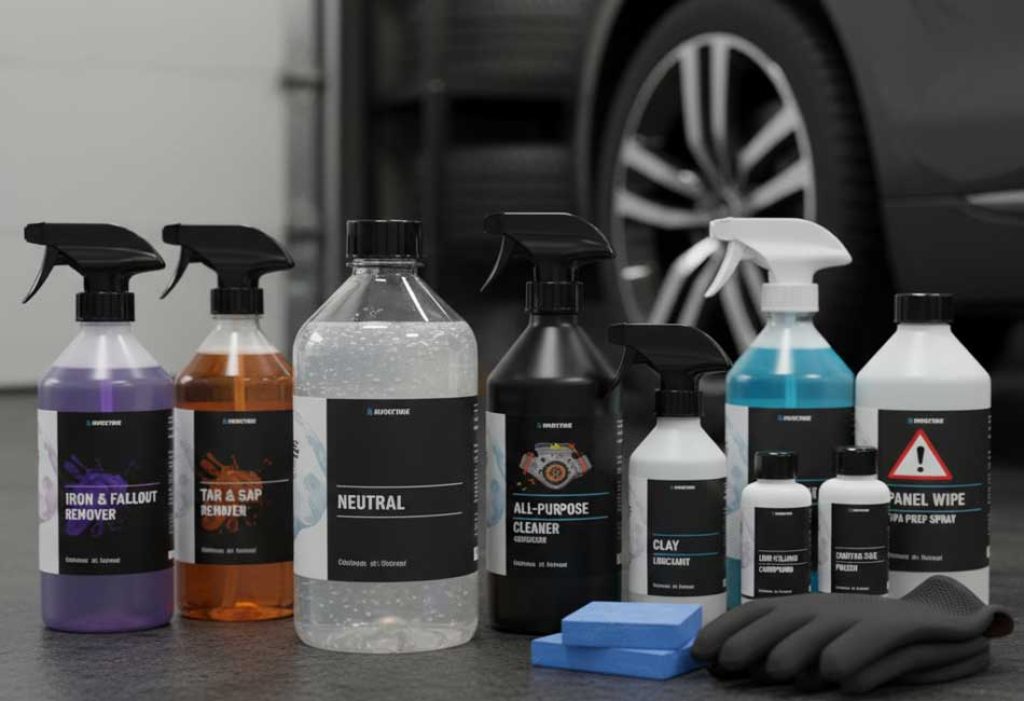
Chemicals
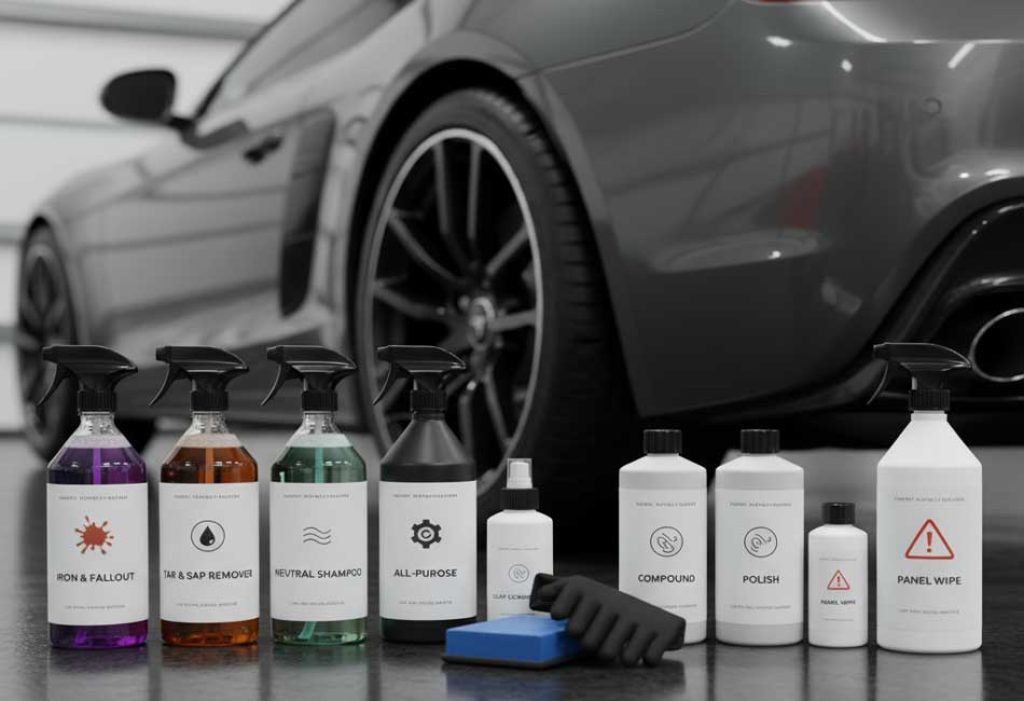
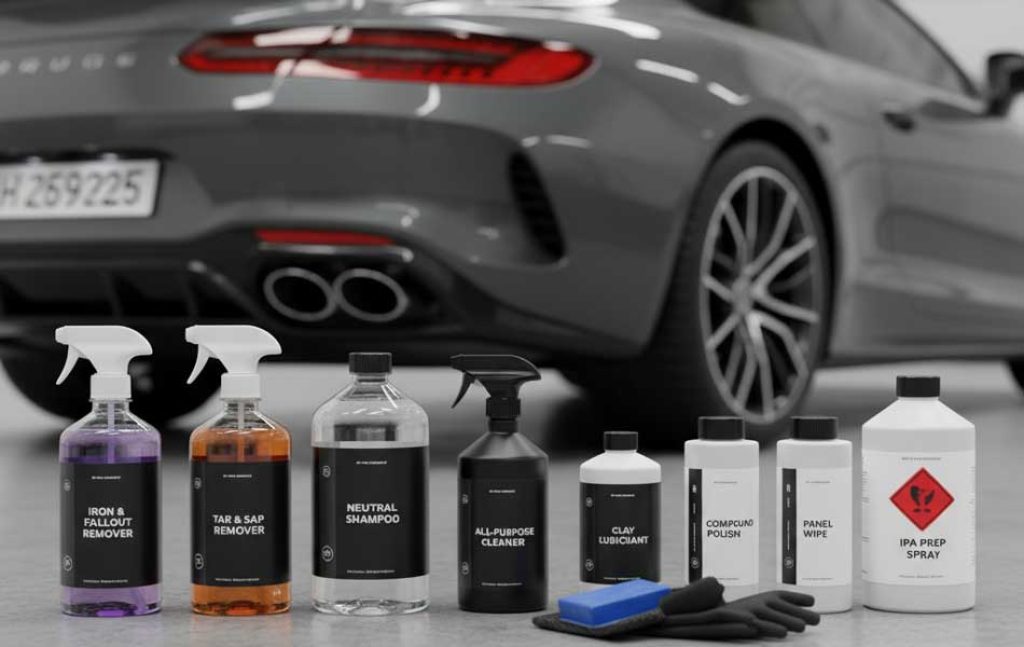
- Strip or neutral shampoo (no wax in the soap)
- All‑purpose cleaner (APC) for greasy areas
- Iron/fallout remover
- Tar/sap remover
- Water‑spot remover (optional)
- Clay bar or clay mitt + clay lubricant
- Compound and polish (low‑filling, coating‑safe)
- Panel wipe (preferred) or 10–20% IPA in distilled water
Consumables
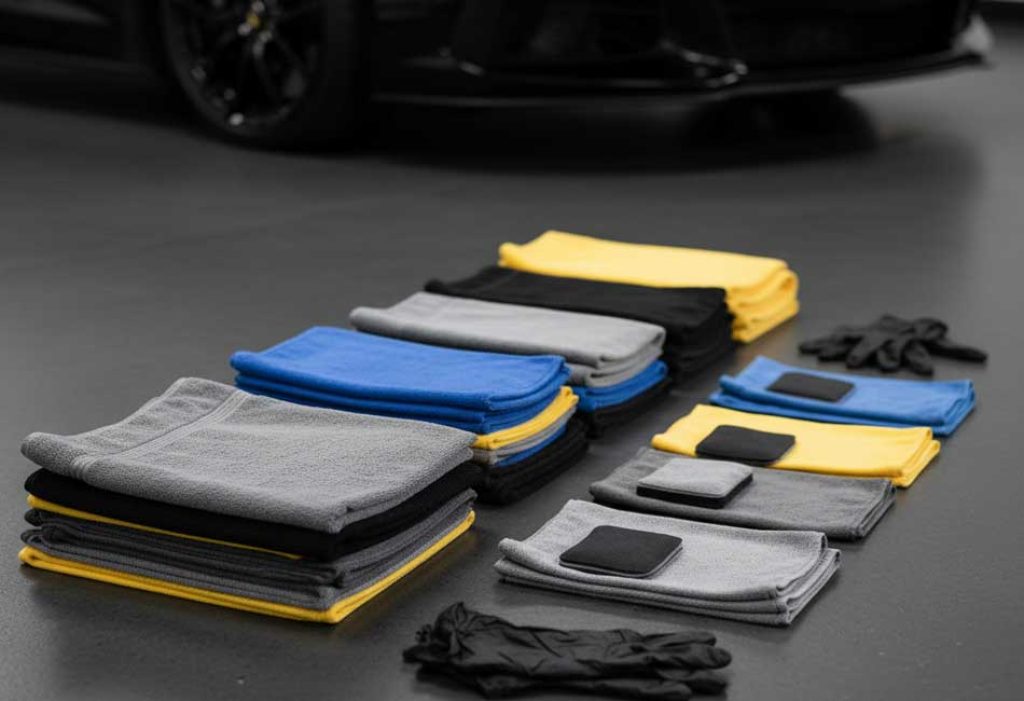
- 12–24 edgeless microfiber towels
- Thicker (300–365 gsm) for polish removal
- Thinner (200–250 gsm) for panel wipe
- Coating applicators and clean gloves
Real‑world review tips (from common buyer feedback)
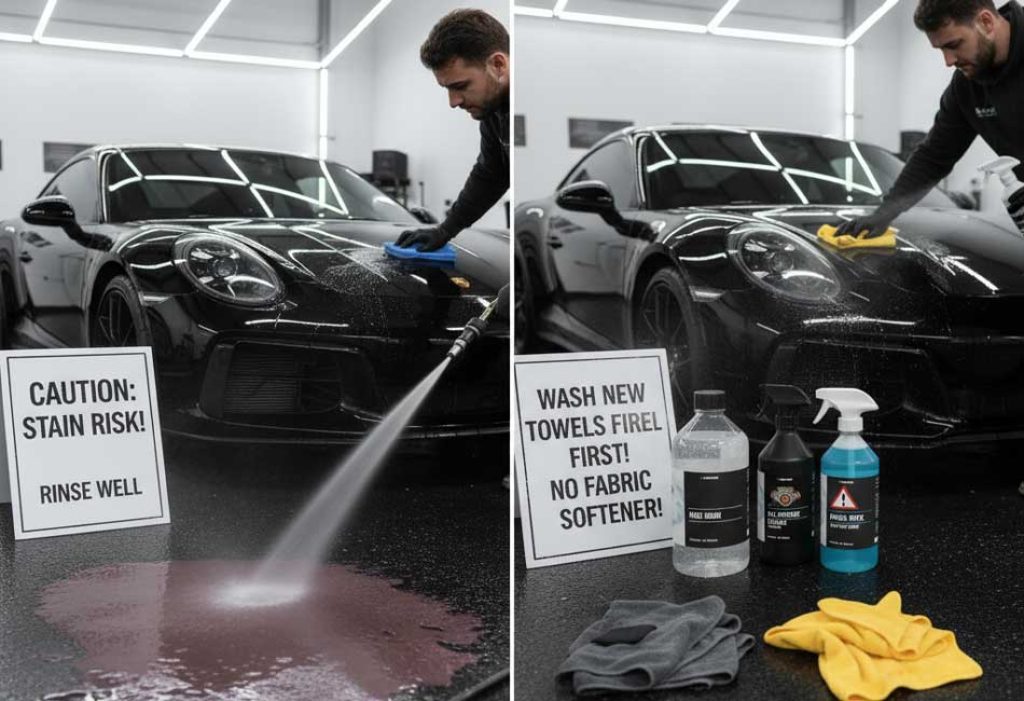
- Iron remover smells strong and can stain driveways. Work on cool panels and rinse everything well.
- Cheap clay and dry lube cause marring. Use fine‑grade clay with plenty of lube.
- Wash “n wax” shampoos ruin bonding. Use a strip or neutral shampoo.
- Panel wipe can streak on hot or humid panels. Work small, switch towels often, and keep panels cool.
- New towels can lint. Wash them first. Never use fabric softener.
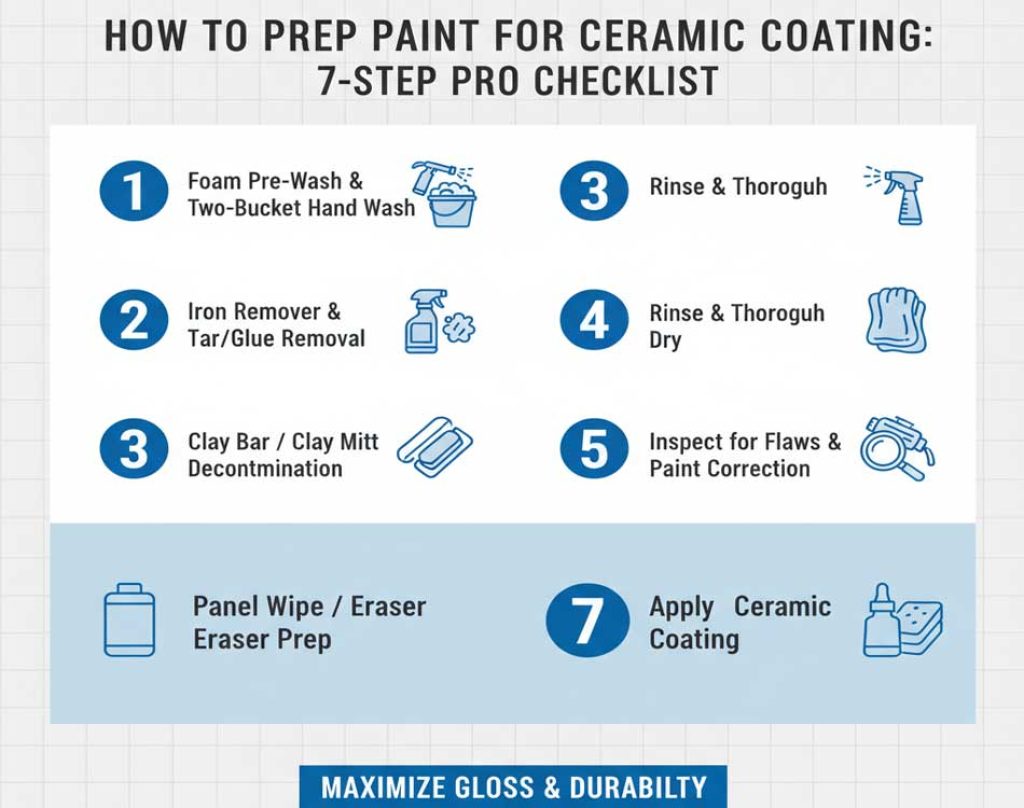
7‑Step Pro Checklist: How to Prep Paint for Ceramic Coating
Step 1 — Inspect, Diagnose, and Plan
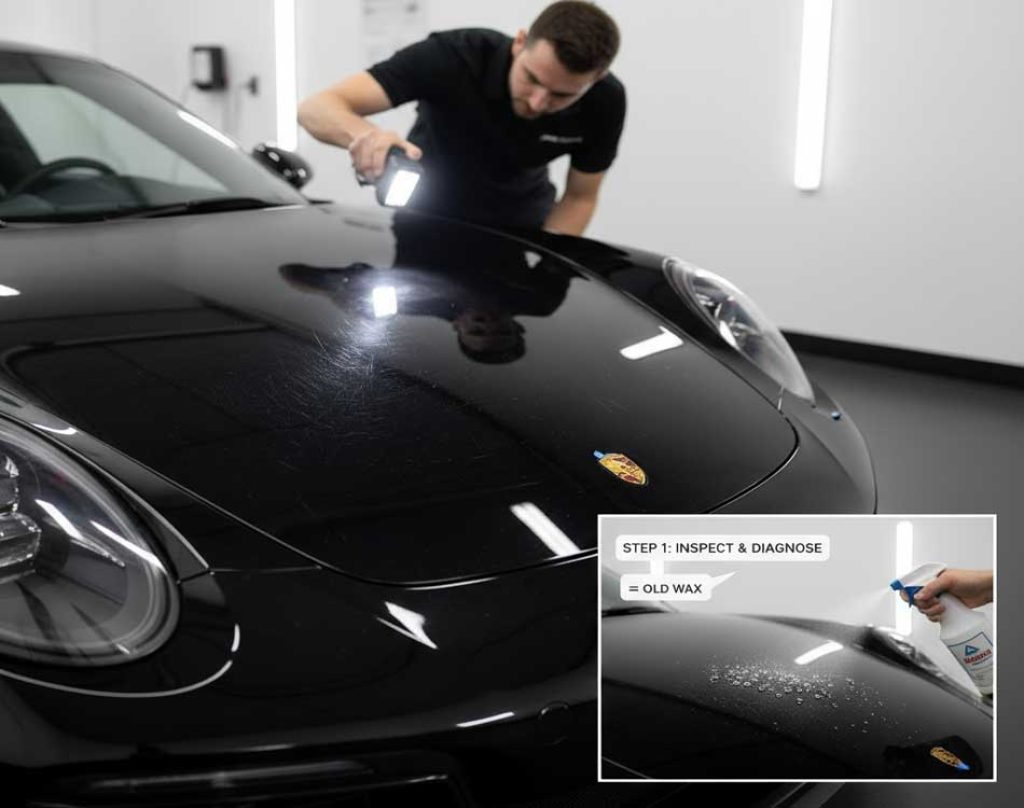
- Look at the paint under good light. Note swirls, haze, water spots, or deep scratches.
- Check for old wax or sealant:
- Spray water on a clean panel. Tight beads usually mean old wax/sealant. Flat sheeting after a strip wash is what you want before coating.
- Pick a “test spot” to dial in your polishing combo before you do the whole car.
- If you have matte or satin paint, stop here and read the Special Cases section first.
Pro note: I put a small piece of tape near any deeper scratch I want to recheck after compounding. Saves time.
Step 2 — Pre‑Wash and Strip Wash
- Foam the car and let it dwell. Rinse. This lifts grit so you don’t drag it across the paint.
- Two‑bucket wash with a strip or neutral shampoo. No “gloss,” “wax,” or “ceramic” in the soap.
- Use APC (diluted per label) on lower panels and greasy spots.
- Rinse well. Dry with a blower or clean towels.
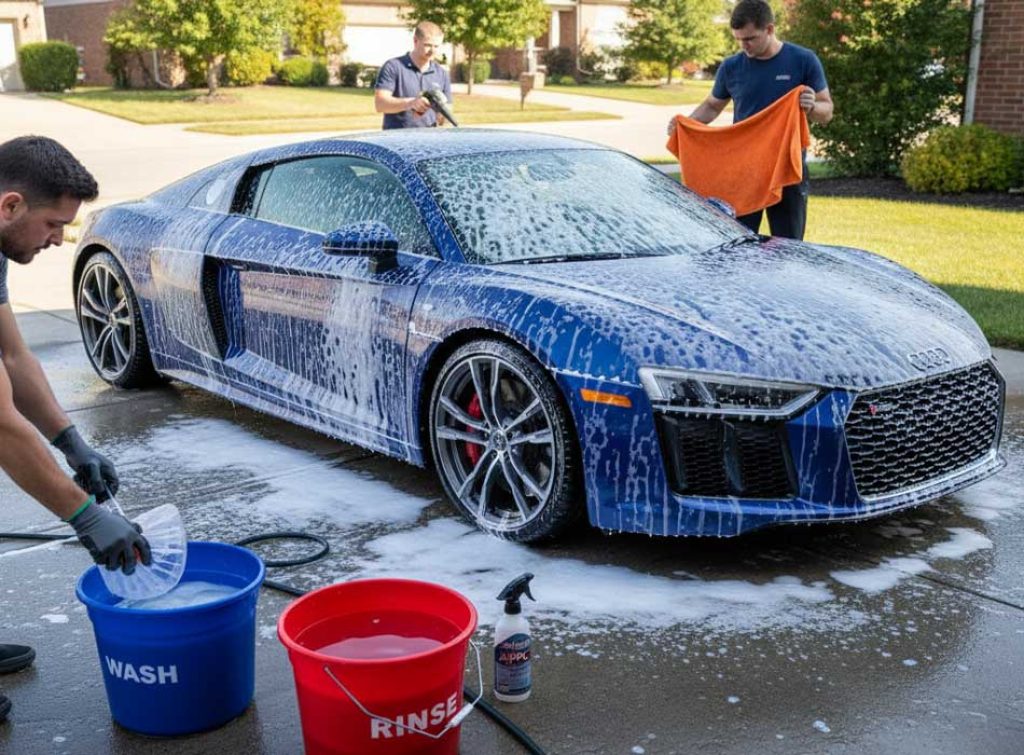
Why not dish soap? It can dry out rubber and stain trim. Modern cars deserve better. Use proper shampoo.
Step 3 — Chemical Decontamination (Iron, Tar, Adhesives)
- Spray iron remover on cool paint. It will “bleed” purple as it dissolves fallout. Let it work, then rinse very well.
- Spot‑treat tar, sap, or leftover adhesive with tar remover. Wipe gently and rinse.
- If you have mineral water spots, use a dedicated water‑spot remover. If they’re etched, you’ll fix it during polishing.
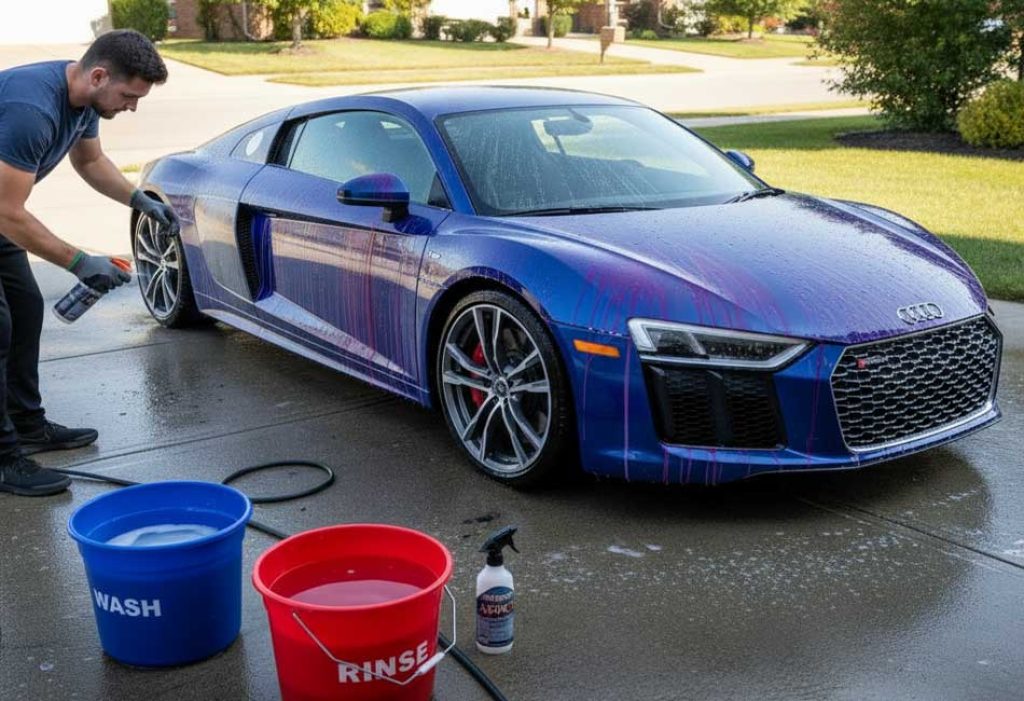
Safety: The iron remover smell is rough. Ventilate and wear gloves.
Step 4 — Mechanical Decontamination (Clay)
- Use a fine clay bar or a fine clay mitt with a real clay lubricant.
- Light pressure. Straight lines. Keep the surface very slippery.
- Expect faint micro‑marring on softer paints. That’s normal. You’ll polish next to remove it.
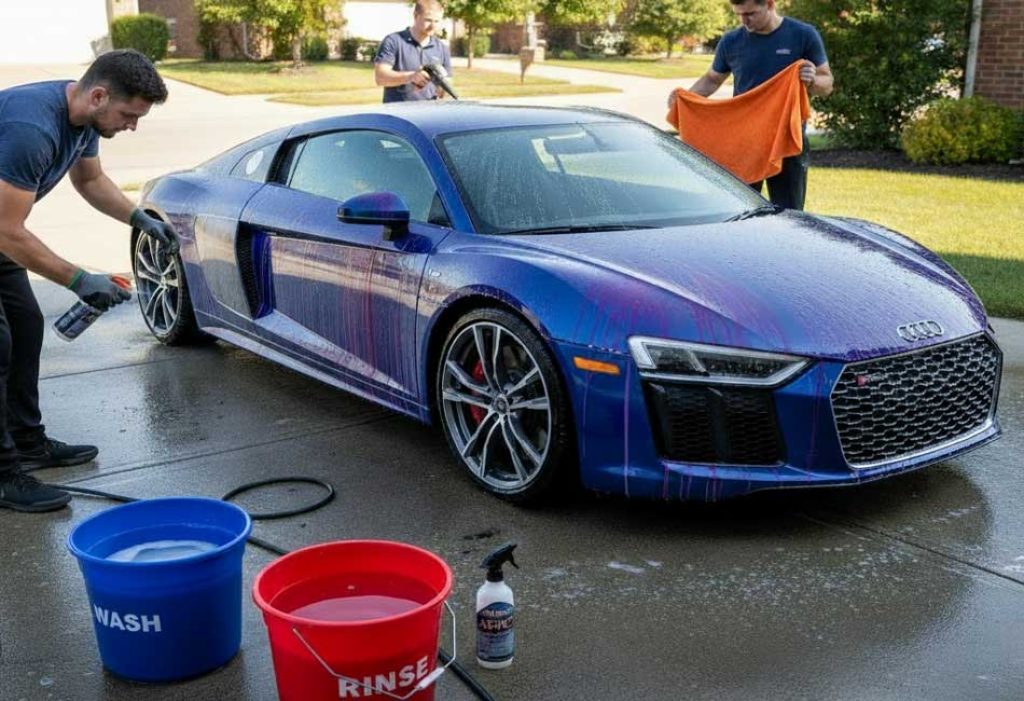
Common review complaint: “Clay scratched my car!” It’s usually micro‑marring. A quick finishing polish clears it right up.
Step 5 — Paint Correction (Compound and Polish)
- Do a test spot. Start mild. If it’s not enough, step up your pad or compound.
- Use a DA polisher for safety. Keep pads clean. Swap them often so they don’t gum up.
- After compounding, follow with a finishing polish for clarity and gloss.
- Blow out dust from crevices. Wipe residue between sets.
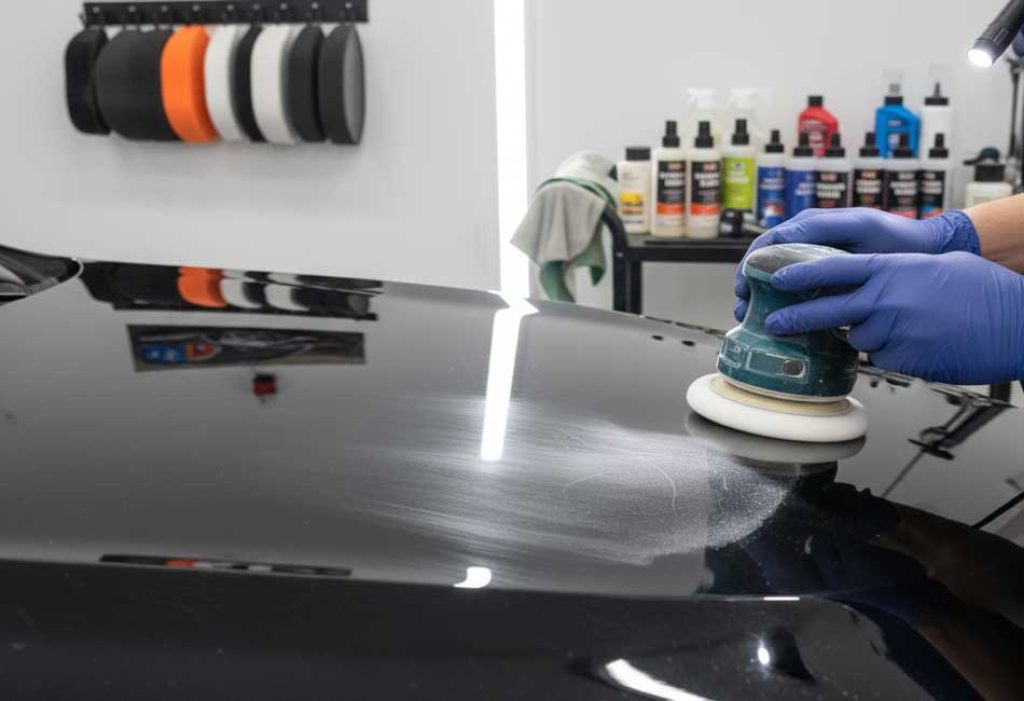
Key point: Choose polishes that don’t hide defects with heavy oils. You want to see the true finish before coating.
Step 6 — Final Clean: Panel Wipe / IPA Wipe‑Down
- Use a dedicated panel wipe for best results. If you can’t get one, mix 10–20% IPA with distilled water.
- Technique: Lightly mist the towel, then the panel. Wipe in straight lines. Follow with a second dry towel before it flashes.
- Inspect with a bright light from different angles.
- Do a water‑break test if you want: water should sheet flat, not bead tight.
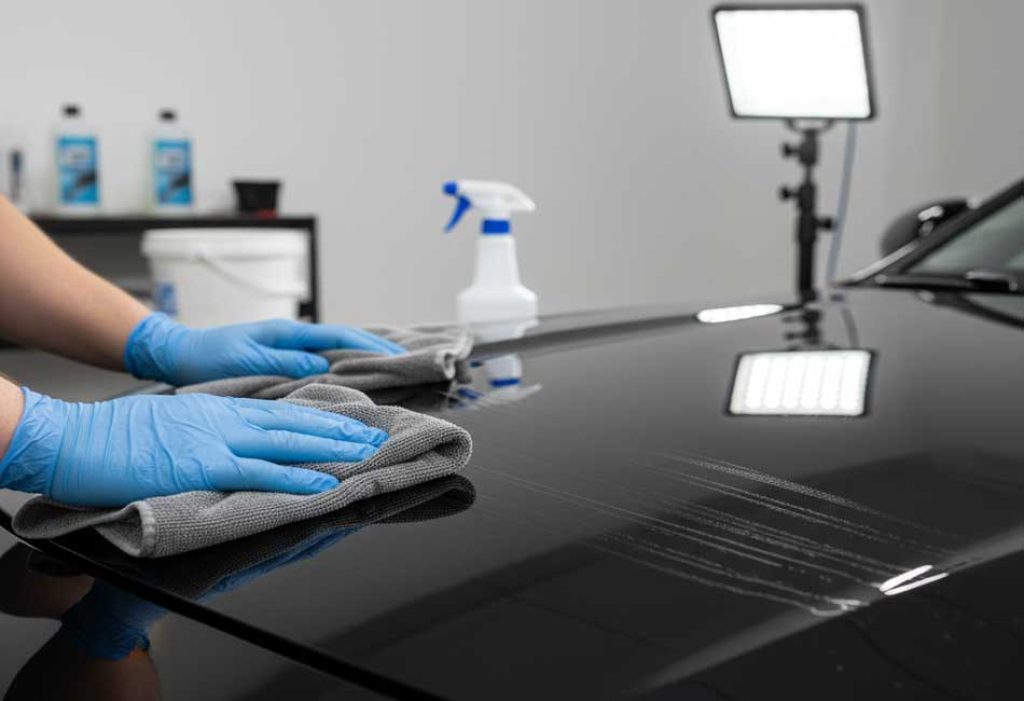
If you see smears, your towel is saturated or the panel is too warm. Switch towels. Shrink your working area. Cool the panel.
Personal note: I once rushed a black hood in the sun and chased smears for 20 minutes. I moved the car into shade, grabbed fresh towels, and they vanished in two passes. Lesson learned.
Step 7 — Mask, Control the Environment, and Final Checks
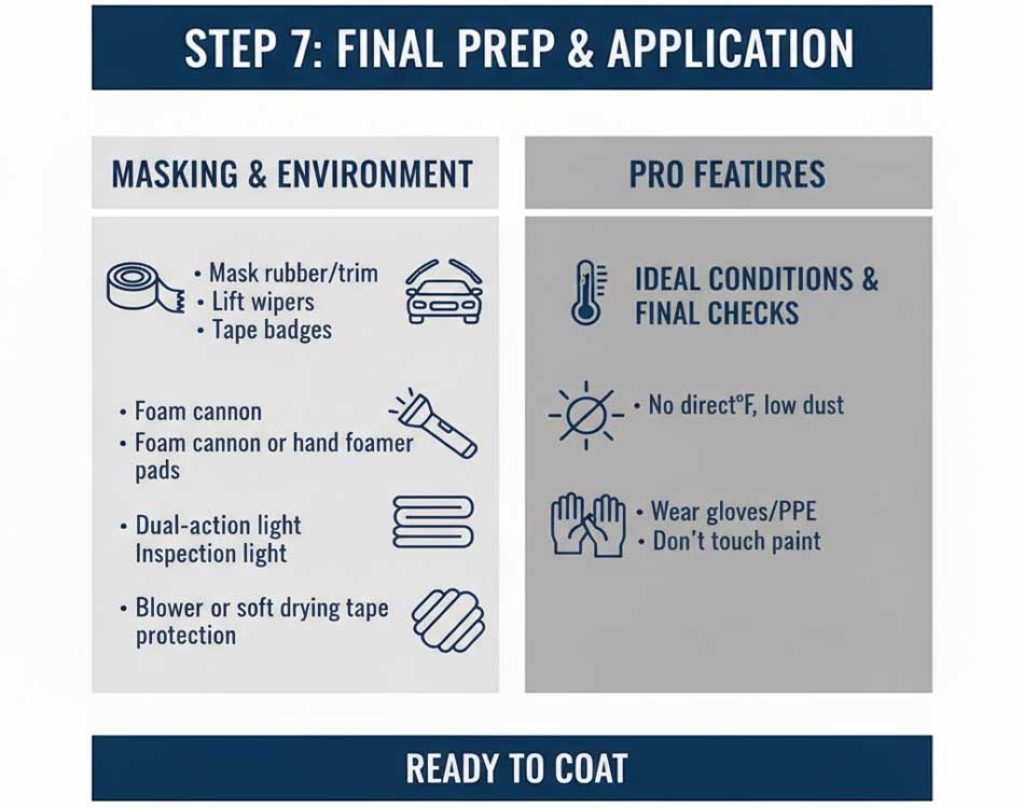
- Mask rubber and porous trim. Lift wipers. Tape badges or edges if you need to.
- Ideal conditions: 50–75°F (10–24°C), low dust, no direct sun, moderate humidity.
- Lay out your coating tools. Wear gloves. Don’t touch the paint with bare hands after panel wipe.
- Now you’re ready to coat.
Special Cases and Exceptions
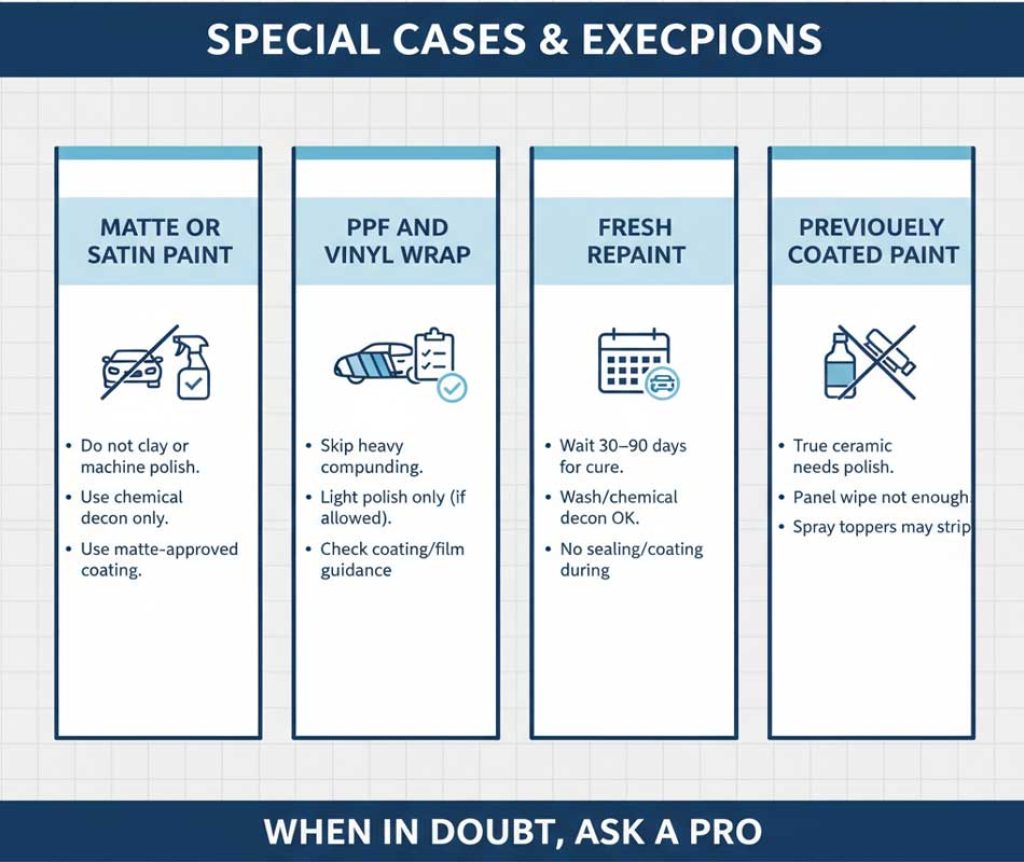
- Matte or satin paint
- Do not clay or machine polish. You’ll add shine you can’t remove.
- Use chemical decon only and a matte‑safe panel wipe.
- Use a matte‑approved coating.
- PPF and vinyl wrap
- Skip heavy compounding. If allowed by the film maker, do a very light polish only.
- Many coatings work on PPF; check the coating label and the film manufacturer’s guidance.
- Fresh repaint
- Most shops recommend waiting 30–90 days for full cure before any coating.
- You can wash and do gentle chemical decon during that time. No sealing, no coating.
- Previously coated paint
- “True” ceramic coatings usually need polishing to remove. Panel wipe alone will not strip a durable coating.
- Spray “ceramic” toppers may come off with strong detergents, but polish is still the cleanest reset.
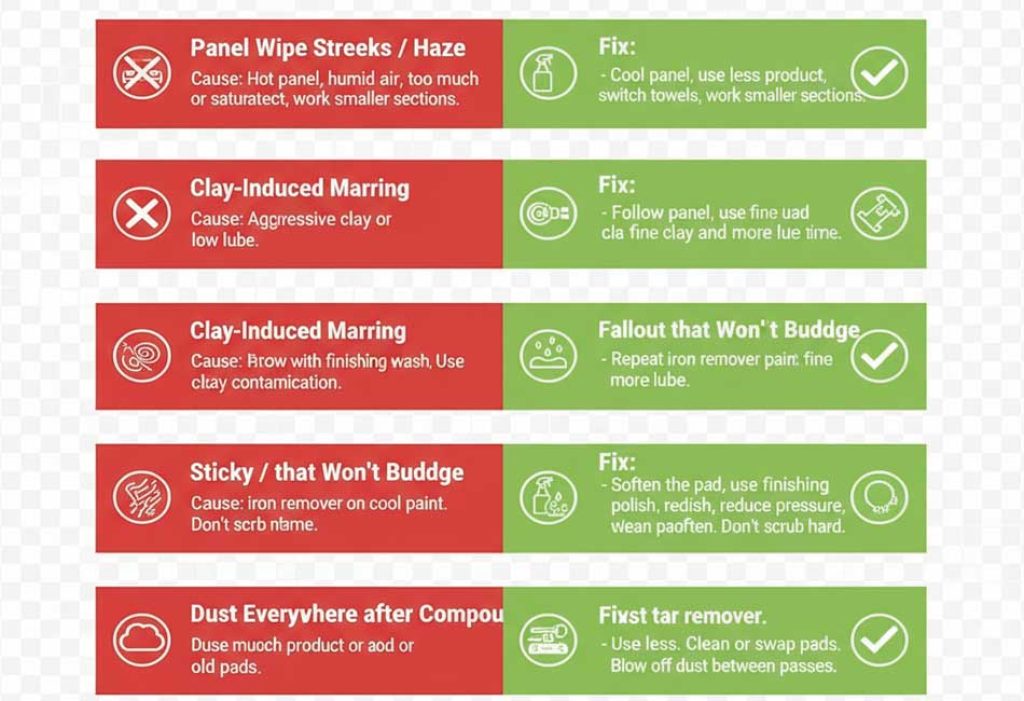
Troubleshooting (Real‑World Fixes)
- Panel wipe streaks or haze
- Cause: Hot panel, humid air, too much product, or saturated towels.
- Fix: Cool panel, use less product, switch towels, work smaller sections.
- Clay‑induced marring
- Cause: Aggressive clay or low lube.
- Fix: Follow with a finishing polish. Use fine clay and more lube next time.
- Fallout that won’t budge
- Cause: Heavy contamination.
- Fix: Repeat iron remover on cool paint. Don’t scrub hard.
- “Sticky” or soft paint while polishing
- Cause: Heat and pad buildup.
- Fix: Soften the pad, use a finishing polish, reduce pressure, clean pads more often.
- Dust everywhere after compounding
- Cause: Too much product or old pads.
- Fix: Use less. Clean or swap pads. Blow off dust between passes.
Common Mistakes to Avoid
- Using wash‑and‑wax shampoo before coating
- Skipping chemical decon and claying
- Coating over polishing oils (no panel wipe)
- Polishing in direct sun or on hot panels
- Mixing towels (keep coating towels separate; no fabric softener)
- Not masking trims (stains and white crust)
- Touching paint with bare hands after panel wipe
Buyer’s Guide: What to Look For (with Review‑Driven Tips)
- Strip shampoos
- Look for “no wax,” “no gloss enhancers.” If the label promises shine, skip it.
- Iron removers
- Strong reaction, safe on clear coat. Expect a smell. Work fast and rinse well to protect driveways.
- Clay bars/mitts
- Fine grade = less marring. Clay mitts save time on big vehicles.
- Compounds/polishes
- Low‑filling, low dust, long working time. Keep both a cut and a finish polish.
- Panel wipes
- Dedicated solvent blends remove oils better than high‑ratio IPA. Test on a small area if your climate is hot or humid.
- Microfiber towels
- Edgeless, 300–365 gsm for polish. 200–250 gsm for panel wipe. Wash new towels first, no softener.
- Pads
- Have 3–4 of each cut level per car so you can swap as they load up.
- Safety
- Gloves at minimum. If solvents give you headaches, wear a respirator and ventilate.
Time, Cost, and Skill Planner
- Light prep (newer car): 4–6 hours. Decon + light polish.
- Medium prep (daily driver): 6–9 hours. One‑step polish.
- Heavy prep (neglected paint): 8–12+ hours. Compound + polish.
Tip: Break the job over two days. Day 1: wash, decon, clay. Day 2: polish, panel wipe, coat.
Safety and Environmental Notes
- Wear gloves and eye protection. Ventilate when using iron remover and panel wipe.
- Work in shade on cool panels.
- Rinse chemicals away from plants and drains when possible. Dilute and follow labels.
Pre‑Coating QC Checklist (Print This)
- After the wash, water no longer beads tight on the paint
- No purple bleed when you re‑check with a light mist of iron remover
- Clay glides smooth; no rough patches left
- Swirls/haze corrected under an inspection light
- Panel wipe leaves no streaks or smears
- Trim masked; tools and coating laid out; gloves on
- No bare‑hand touches on paint since panel wipe
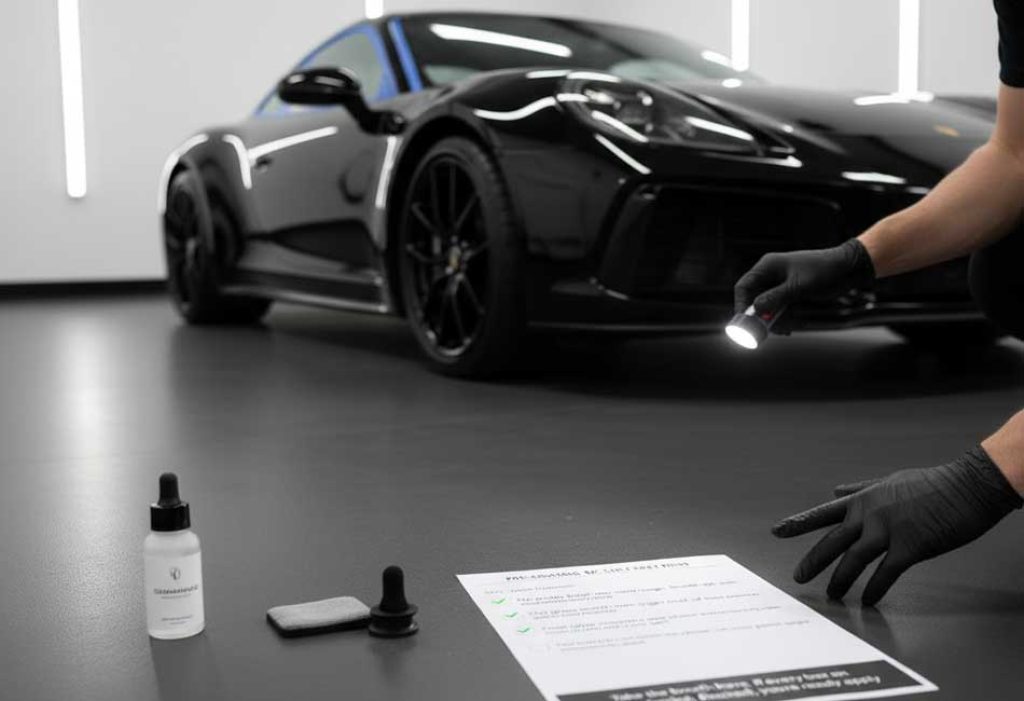
Take a breath here. If every box is checked, you’re ready to apply the coating.
FAQs Related to Prep Paint for Ceramic Coating
Q: Do I need to remove wax or sealant before a ceramic coating?
A: Yes. Waxes and sealants block the coating from bonding. Do a strip wash, then chemical decon, clay, polish if needed, and a thorough panel wipe. After the wipe, water should sheet and not bead tightly. That’s your green light.
Q: Can I skip polishing if my car is new?
A: You can, but I don’t recommend it. Even new cars pick up transport film and tiny swirls from dealer washes. A quick finishing polish boosts gloss and removes clay marring. It also gives the coating a cleaner surface to grab.
Q: Is IPA good enough for panel wipe?
A: A 10–20% IPA mix works in a pinch. But a dedicated panel wipe removes polishing oils and silicones better and flashes cleaner. If you use IPA, work small, use fresh towels, and follow with a dry towel to avoid streaks.
Q: Can I clay matte paint?
A: No. Clay and polishing can add unwanted shine to matte/satin finishes. Use chemical decon only and a matte‑approved panel wipe and coating.
Q: How soon after polishing can I apply a coating?
A: Right away, as long as you’ve done a proper panel wipe and the environment is controlled (cool panels, no dust, no sun). Don’t touch the paint with bare hands after the wipe.
Q: What happens if I apply a coating over wax by mistake?
A: The coating may not bond well. You could see high spots, streaking, or early failure. The fix is to strip it: polish the panel to remove the failed layer, panel wipe again, then reapply correctly to clean paint.
Q: How do I know if an old coating is still on the car?
A: Do a water test. If clean panels still bead tightly after a strip wash and panel wipe, some protection remains. True coatings usually need polishing to remove fully. If in doubt, do a test spot polish and compare behavior.
Wrap‑Up
Prep isn’t glamorous, but it’s where the win happens. Take your time with the wash, decon, polish, and panel wipe. Control the environment. Then apply the coating with confidence.
One last question: are you working outside or in a garage? If it’s outside, plan your steps for early morning or late afternoon. Shade makes everything easier.
If you want, I can turn this into a printable one‑page checklist and a shopping list you can take to the garage.

